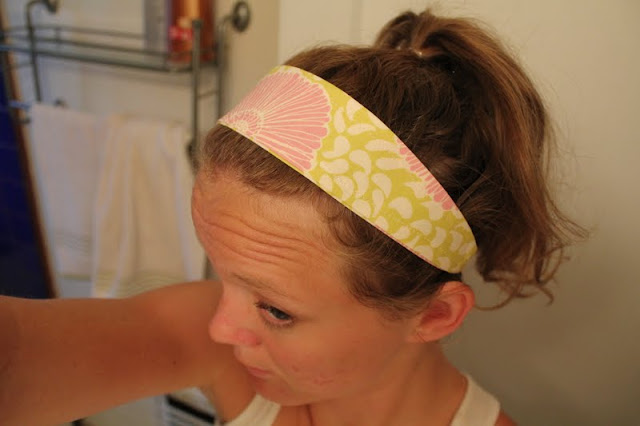
Sometimes it's so nice to complete something so quickly. These adorable headbands are just the ticket- cute and an almost instant "I made it" satisfaction. I originally saw the headband on Pinterest, which I am officially addicted to. Majorly addicted. I used a combination of two different blogs to create them. I followed the instructions from Biscuits and Jam and used the pattern from The Long Thread, although I used the child size instead of the adult size. I could tell from the printout that it was way to big for my head. The child size ended up fitting me perfectly. So I guess I have an abnormally small head(?), although I'm pretty sure some people would argue just the opposite. :)
These little head bands are going to be perfect for yoga and any other summer activity. Ready to make one?
Materials:
- Fabric scraps- you'll only need 2 ovals measuring about 12" x 2 1/2", so it's a great way to use scraps.
- a 10" piece of elastic
- Basic sewing equipment
Instructions:
- Cut out 2 of the pattern pieces
- Iron one end of each oval up, about 1/4 of an inch
- Make a sandwich with your pattern pieces, laying the elastic in the middle. I pinned the elastic to one of the fabric pieces to keep it from getting caught while sewing the edges. Pin around the edges.
- Sew! Start from one of the folded pieces and sew all the way around using a 1/4" seam. Stop at the end of the folded piece, but don't sew across it. You need an opening to turn the headband right side to. You'll also need to backstitch at the beginning and the end.
- Turn the headband right side to, remove the pins, iron flat.
- One side of the elastic will be sewed down and the other end will be loose. Tuck the loose end into the opening about 1/2" and pin down. {My headband is actually a little looser than I'd have liked, so I recommend trying it on first, which I didn't. *Update: while waiting for the photos to upload, I folded over some of the extra elastic and sewed it to the back of the headband. Yes, I am that ADD. Fits much better now.}
- Top stictch around the entire headband using a 1/4" allowance. I backstitched over the elastic part a couple of times to keep it firmly secured.
Action shot- trying to see if I could shake it off my head.
Voila, new headband! Enjoy! :)


1 comment:
I'm so glad you liked my little gift! I figured you would give the notebook a good home ;) I got it at this really interesting "utopia" sort of society called Auroville. They follow a very interesting religion/philosophy.
Anywho, love the headband idea! You are too crafty!
Post a Comment