As part of Jason's 30th Birthday Extravaganza my gift to him was a completely DIY'd corn hole/bean bag toss board set. This was my first multistep building project and I'm pretty proud to say it turned out swimmingly. And Jason liked it, so that's always a bonus. There are multiple steps involved, which I've called phases to keep them straight. Let me know if you have any questions! *Caution: lengthy post ahead.
I followed the instructions from here, although I didn't need the sewing instructions or the painting instructions.

Phase One - Construction
First up is the actual construction part. Check the instruction list for a full list of supplies. When purchasing your 2x4' try to get the straightest ones you can find. I rummaged through about 24 before I picked the ones I needed. If they have any decent bend or warping, it's going to make squaring up the frame kind of sucky.
Also, Home Depot (at least mine) sells pre-cut boards that are the exact size of the top of the frame. The good news about this is that you don't have to rely on the Home Depot employees to cut a piece of plywood down for you. The bad news is that the selection was minimal. As a result, I had to buy much cheaper wood than I would have liked. This resulted in my needing to improvise Phase Two. Buy the smoothest wood you can find. I could have gotten a piece of plywood sized down, but I have only had terrible luck with Home Depot doing cuts for me so I decided to use the cheaper pre-cut wood and smooth it over with a healthy amount of spackling paste.
One other note, the instructions say that the clamps are "optional." I have no idea how you could build this thing without them. I was working alone and I would never have been able to put together a square frame without the clamps holding everything in place.

When I cut the 2x4's, I clamped the boards to the saw base. This prevented me from having to concentrate on balancing the wood while using a saw. Generally I'd advise against concentrating on anything other than the saw when using something that could cut your fingers off. The clamps also make sure that you don't mis-cut anything.
Alternatively you could leave all of the cutting to the Home Depot guys.


The holes/screws you are making are pretty decently sized. You'll need to create pilot holes using a variety of drill bits. Start small and work your way up. The drill bit with the tape is actually one size larger than the actual screw. I used this at the very end to drill a tiny way down. This widens the top of the hole and countersinks your screw so that the head of the screw is not protruding from the side of the wood. This isn't necessary for the frame but is necessary for the top.

Your pilot hole and screw will pass through the horizontal board and into the vertical board and thereby (thereby, I am obviously a lawyer) join the two together. I eyeballed the locations, but tried to aim for 1/3 from the top and 1/3 from the bottom.
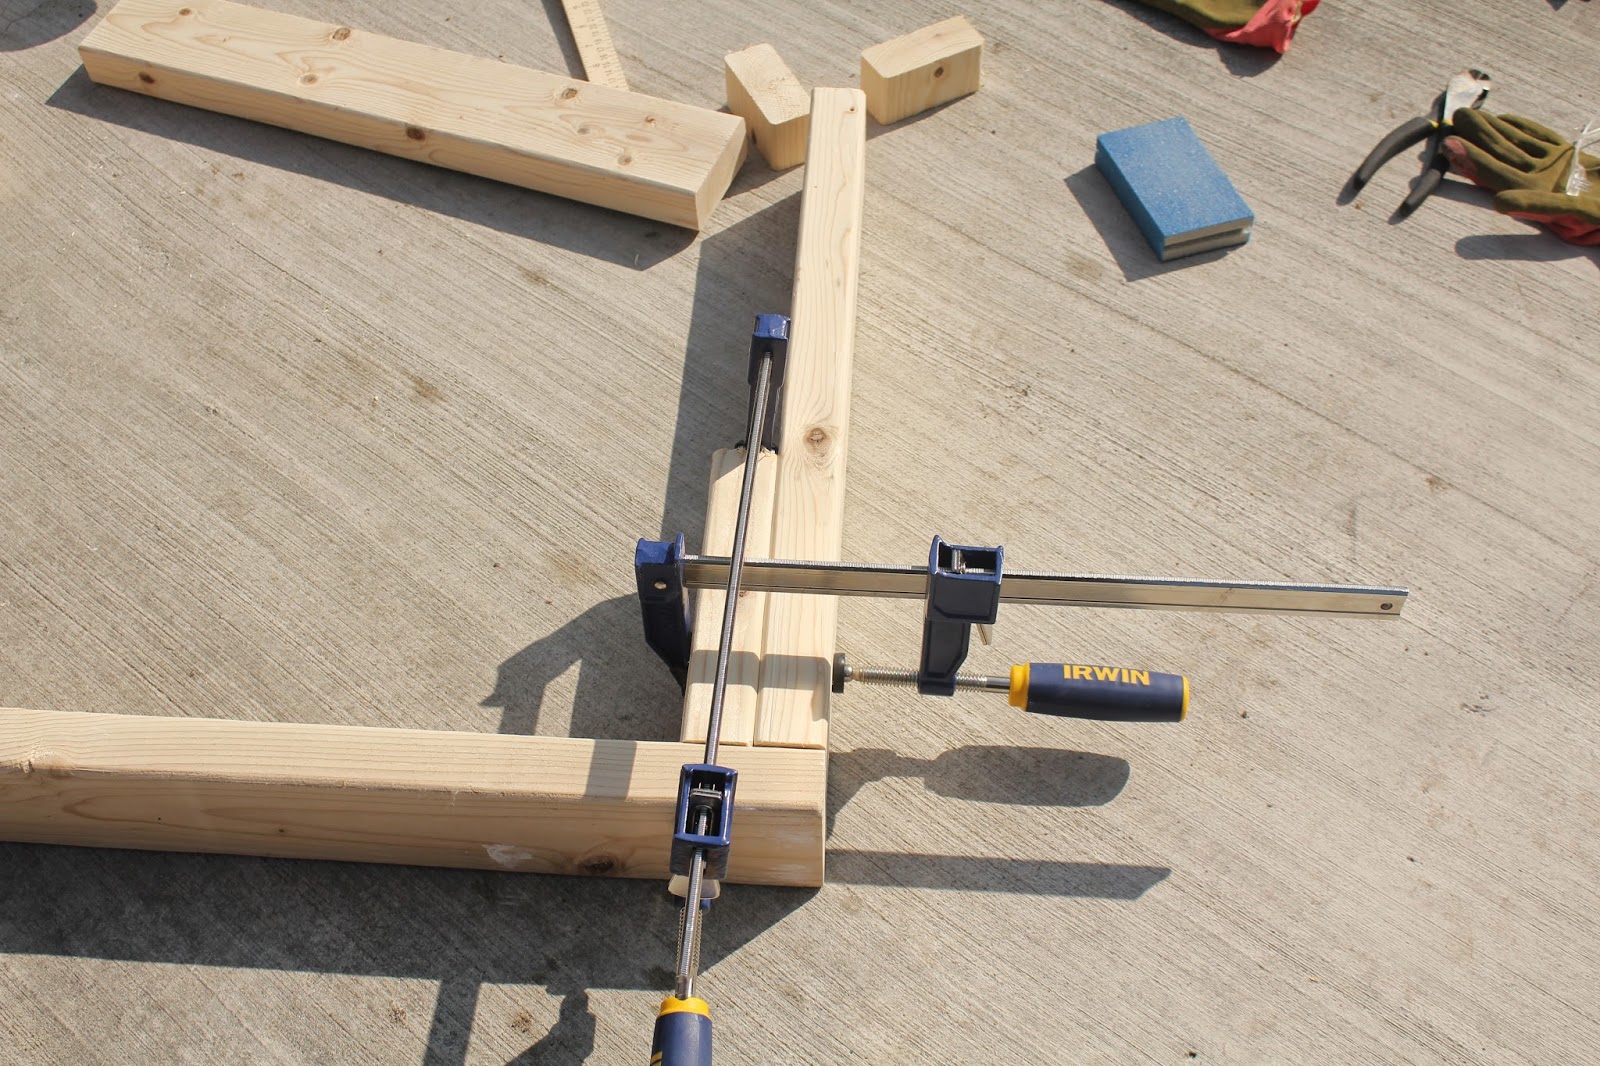
Keep adding piece by piece until your frame it complete. You may need to tweak the last piece to get everything flush. If your 2x4's were fairly straight this shouldn't be too difficult. I didn't have much trouble.

Once the frame is complete center the boards on top of the frame and screw them together, using the countersink method above. You will also need to make pilot holes for this part as well. The screw heads really need to be below the board to prevent your bags from catching on anything. And to be honest, screwing the top in place was the worst part of this entire thing. I stripped an embarrassing number of screws.


The legs are kind of tricky. You need to round the tops so that the legs will move freely from resting to standing and so that the feet are flush with the ground. Read the instructions for complete details, I don't want to mess anyone up. But below are some progress photos.
I will say that I skipped the stack your board until it's 12" of the ground step. I am not serious enough about corn hole for that kind of precision. Instead I just measured 12" from the point that I mitered the feet. It's not exact, but no one has complained so far that I don't meet "competition requirements."

I will also say that a 3/8" hole is pretty freaking big. A bit that size wasn't in any of my bit kits. I ended up making a special trip to Home Depot for the appropriate size bit. Just a reminder to check before you start.


Insert your bolt, washer and wing nut and tighten. The legs should move without too much resistance and rest flush on the ground when extended.


Once everything is smooth apply a couple coats of primer.

Phase Three: Painting
Once you have finished priming it's time for my favorite part, painting! I decided in advance that I wanted the boards to have the shape of Texas and be in two contrasting colors. I enlarged a map image of Texas until it was close to the size of my board. I printed it out, taped it together (I think it was 6 pieces of paper), cut that out and then traced it onto contact paper.
My theory was that I could put the entire image onto the board and then paint over it. Peel the contact paper off and voila! Texas! This did end up working perfectly. To make the contrasting boards, I needed to have the base color of one board be blue and one board be white. What I ended up doing was painting a small section of base color roughly in the shape of Texas. I did about 3-4 coats of the blue and 3-4 coats of the white (simply because I already had to wait for the blue paint to dry). By not painting the entire board, it made covering up the blue with the white paint much easier. Once the coats dried, I stuck the contact paper down making sure it was only located on the blue/white section of the board, respectively.
I then used a credit card to smooth the contact paper out as much as possible. This will help prevent any bubbles and keep your shape as clean as possible when you paint the top coats.
One other piece of advice. When using contact paper, the side with paper is actually the back. Soooo when you trace your shape onto the paper side, flip it over otherwise it's going to be backwards. Ask me how I figured this out.


I wanted my bags to replicate the Texas that was on each of the boards. So I shrunk the same Texas down to fit on my bags and cut it out from another piece of contact paper. (This Texas was actually backwards once I pulled the paper backing off. So remember, flip it when you're tracing.)

I had a bit of a tricky time getting the contact paper flush with the duck cloth to prevent the paint from bleeding. I tried a rolling pin and credit card. The credit card worked the best.

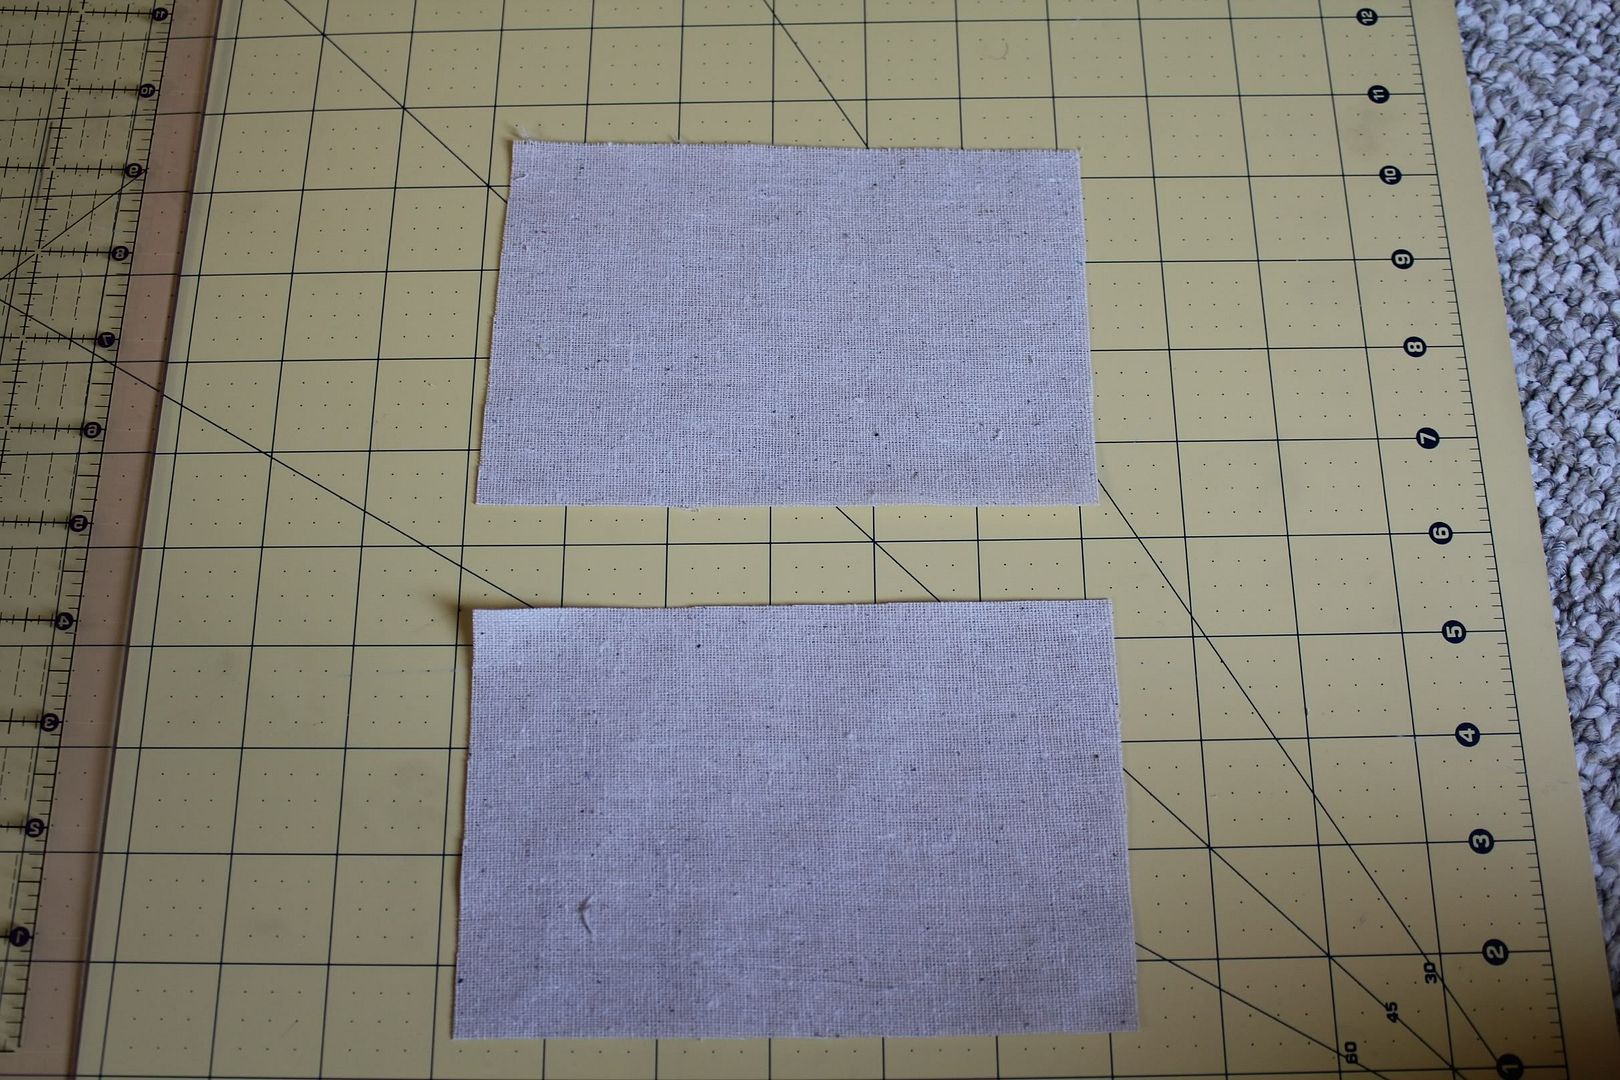
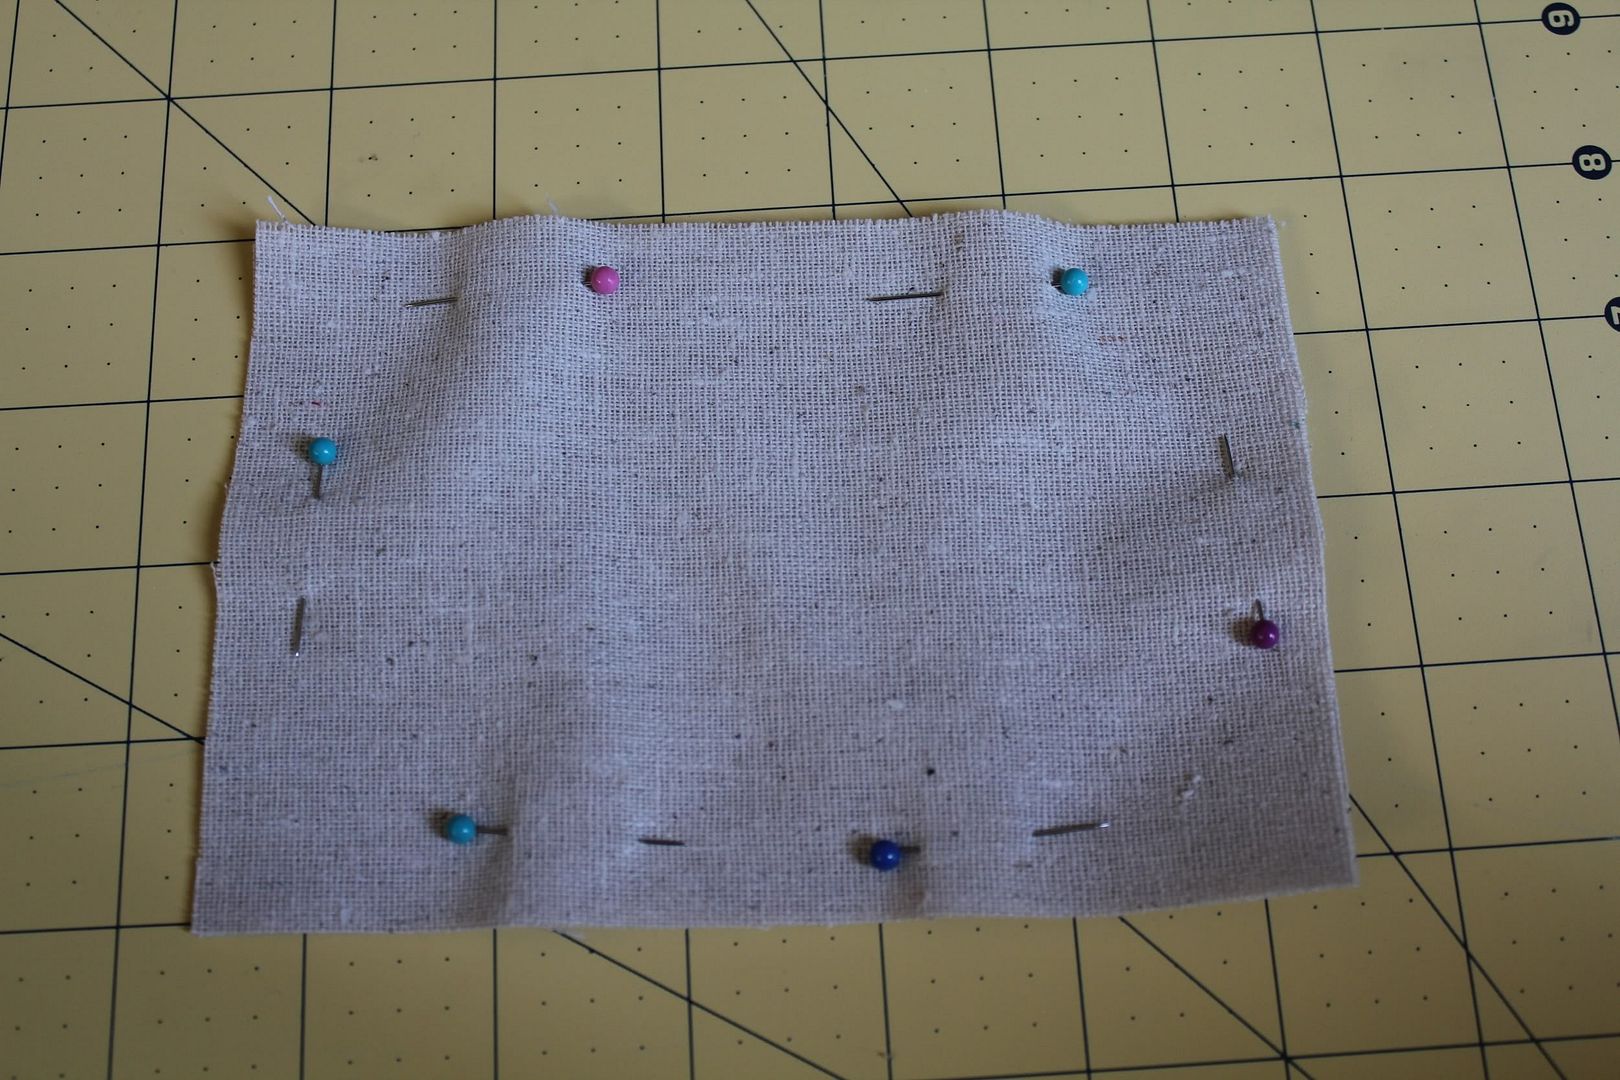
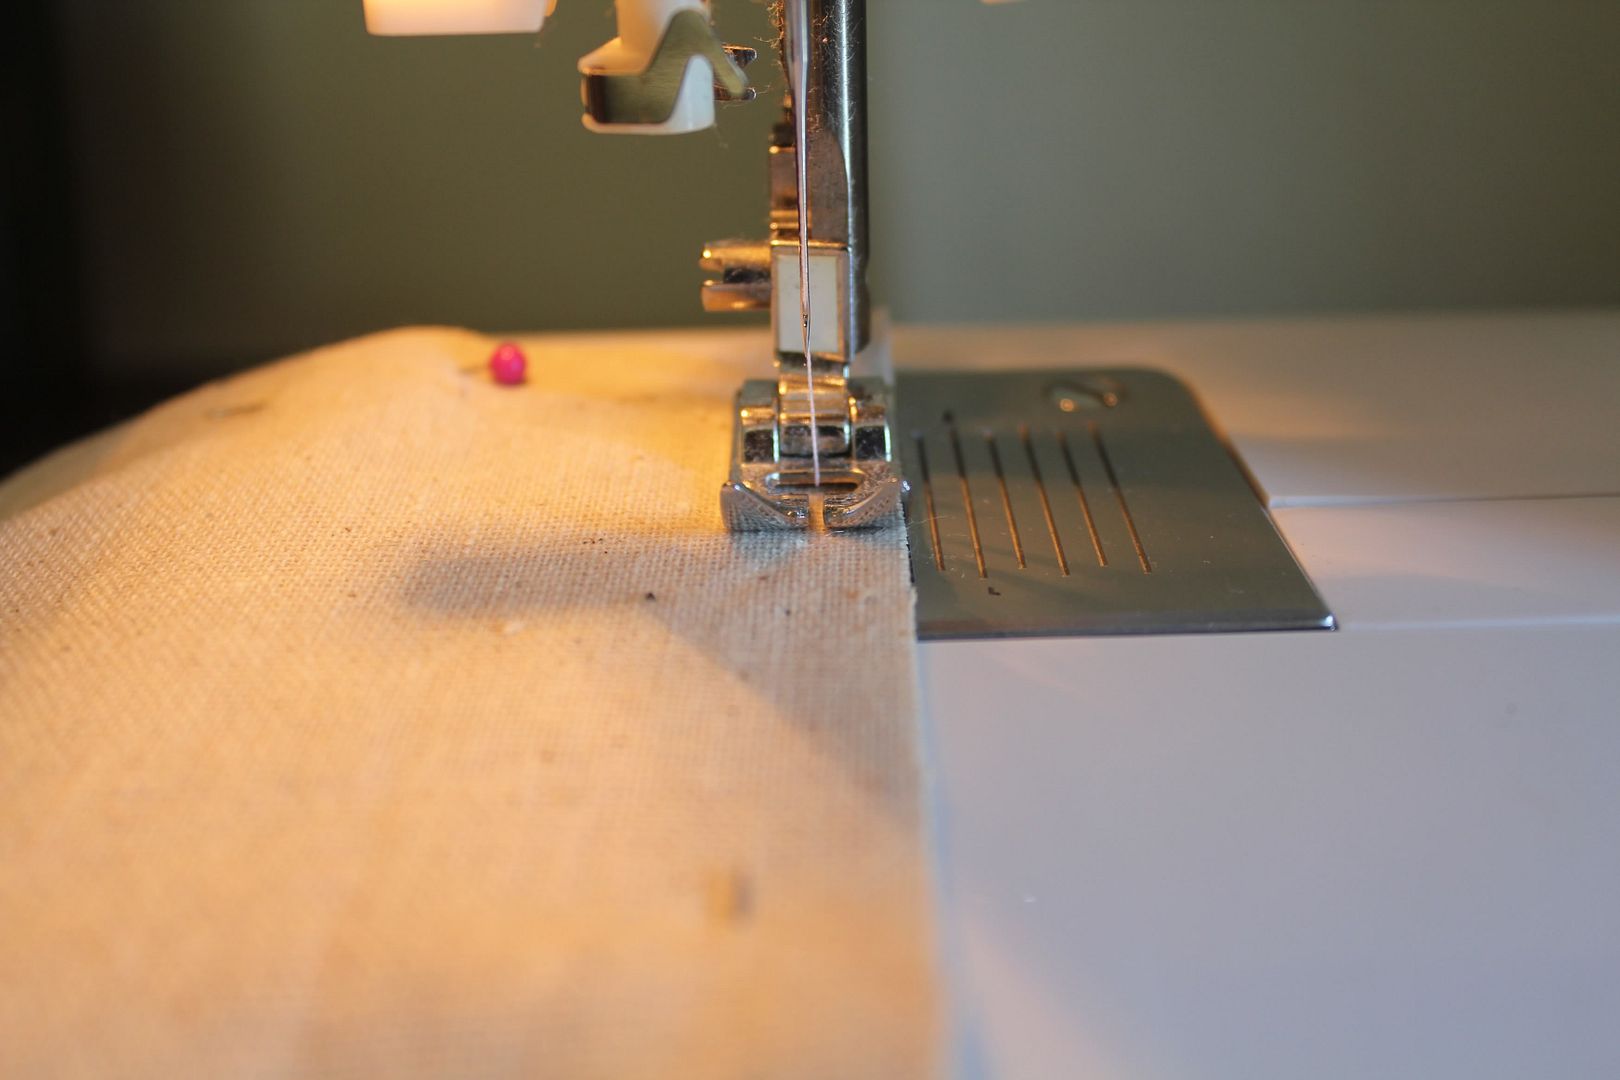
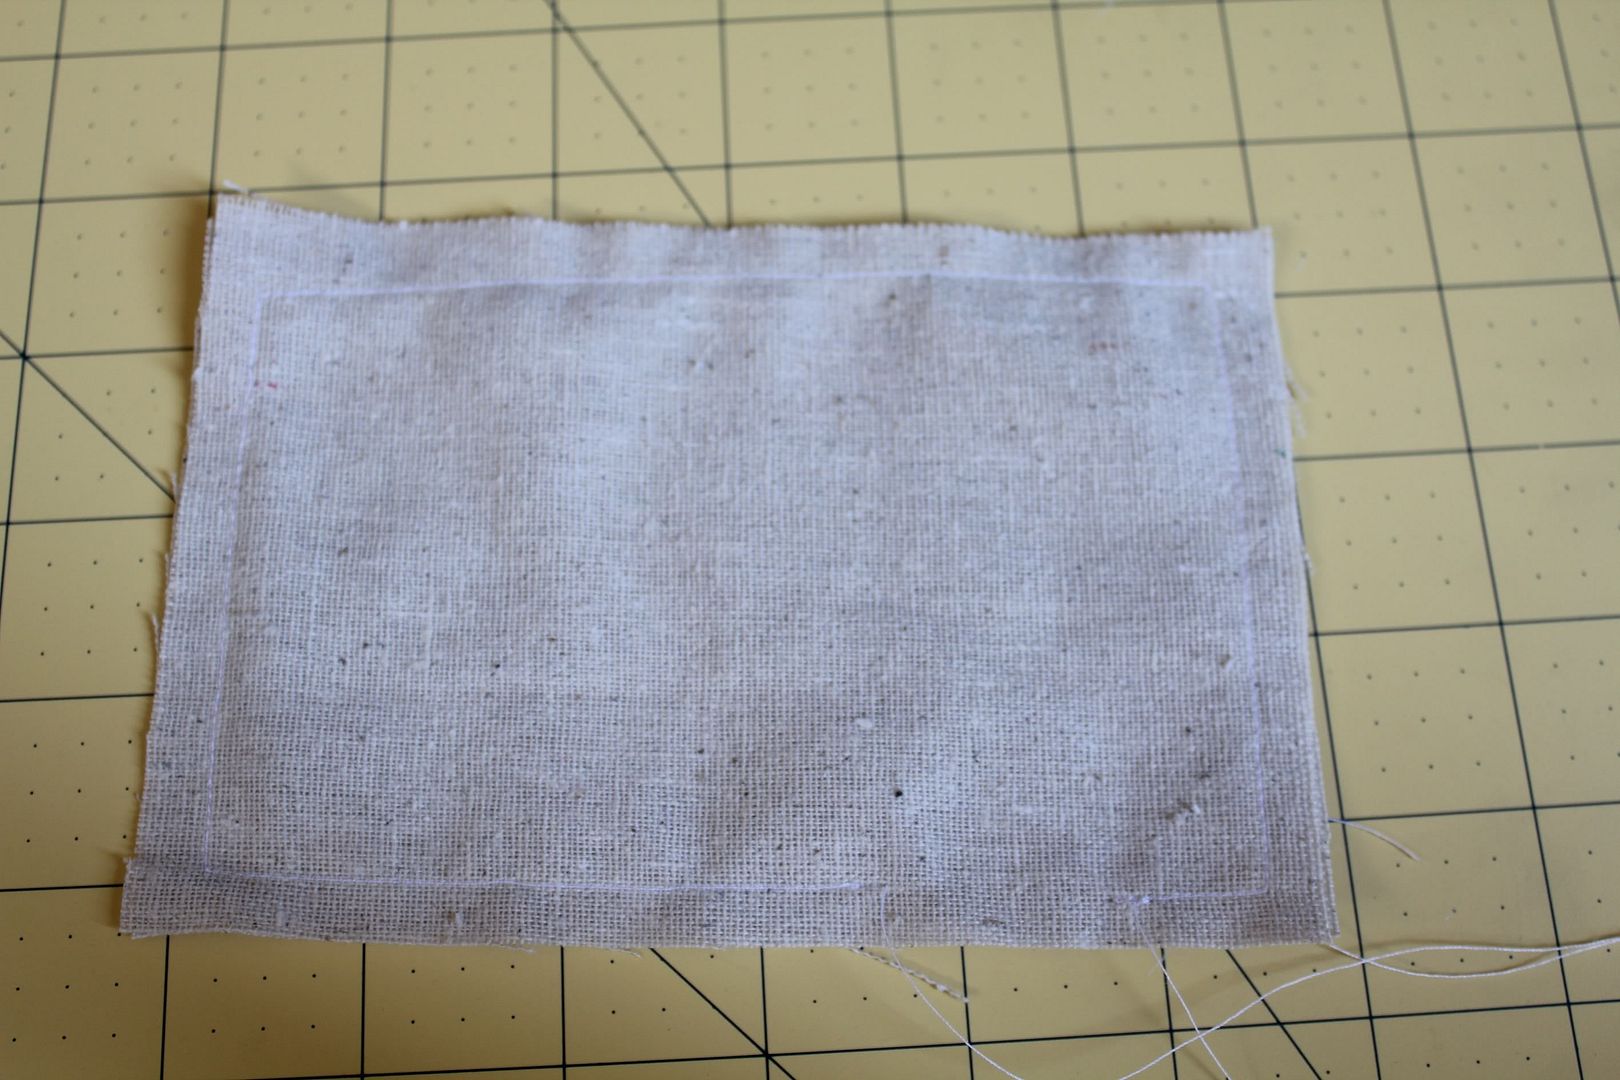
Once the pieces were dry it was simple a matter of pinning, sewing, ironing, and stuffing. Leave a couple inch gap on one side so you can stuff it with your filling.


I followed the instructions from here, although I didn't need the sewing instructions or the painting instructions.
First up is the actual construction part. Check the instruction list for a full list of supplies. When purchasing your 2x4' try to get the straightest ones you can find. I rummaged through about 24 before I picked the ones I needed. If they have any decent bend or warping, it's going to make squaring up the frame kind of sucky.
Also, Home Depot (at least mine) sells pre-cut boards that are the exact size of the top of the frame. The good news about this is that you don't have to rely on the Home Depot employees to cut a piece of plywood down for you. The bad news is that the selection was minimal. As a result, I had to buy much cheaper wood than I would have liked. This resulted in my needing to improvise Phase Two. Buy the smoothest wood you can find. I could have gotten a piece of plywood sized down, but I have only had terrible luck with Home Depot doing cuts for me so I decided to use the cheaper pre-cut wood and smooth it over with a healthy amount of spackling paste.
One other note, the instructions say that the clamps are "optional." I have no idea how you could build this thing without them. I was working alone and I would never have been able to put together a square frame without the clamps holding everything in place.
Document proof that you're actually the one doing the building. And notice the super trendy safety googles. Better that than to lose an eye.
When I cut the 2x4's, I clamped the boards to the saw base. This prevented me from having to concentrate on balancing the wood while using a saw. Generally I'd advise against concentrating on anything other than the saw when using something that could cut your fingers off. The clamps also make sure that you don't mis-cut anything.
Alternatively you could leave all of the cutting to the Home Depot guys.
Measure twice, cut once. Or in my case, measure 10 times, cut once.
Finished with the cutting.
The instructions don't mention this, but I used a rough sander to smooth down some of the rougher ends of each board. I also used pliers to remove the staples that are in the boards.
And do notice one of my not-so-handy-but-pretty-cute-assistants.
And do notice one of my not-so-handy-but-pretty-cute-assistants.
So this is where the instructions get a little confusing and the clamps get pretty necessary.
Once you are ready to assemble, take the corresponding pieces and clamp them together into an L shape and hold together with the clamps. I used a scrap piece of wood to help hold both pieces in place. This will help keep everything flush when you start making the screw holes and inserting the screws.
The holes/screws you are making are pretty decently sized. You'll need to create pilot holes using a variety of drill bits. Start small and work your way up. The drill bit with the tape is actually one size larger than the actual screw. I used this at the very end to drill a tiny way down. This widens the top of the hole and countersinks your screw so that the head of the screw is not protruding from the side of the wood. This isn't necessary for the frame but is necessary for the top.
Your pilot hole and screw will pass through the horizontal board and into the vertical board and thereby (thereby, I am obviously a lawyer) join the two together. I eyeballed the locations, but tried to aim for 1/3 from the top and 1/3 from the bottom.
Keep adding piece by piece until your frame it complete. You may need to tweak the last piece to get everything flush. If your 2x4's were fairly straight this shouldn't be too difficult. I didn't have much trouble.
Once the frame is complete center the boards on top of the frame and screw them together, using the countersink method above. You will also need to make pilot holes for this part as well. The screw heads really need to be below the board to prevent your bags from catching on anything. And to be honest, screwing the top in place was the worst part of this entire thing. I stripped an embarrassing number of screws.
Measure where your center hole should go using a compass and a pencil. Or in my case a Martha Stewart Circle Measurer thing. I'm lazy like that. To cut out the hole use a jigsaw, which is what I did. It's not a perfect circle but it gets the job done. If you want it to be perfect you can buy a hole saw to attach onto your drill. In retrospect, I probably would have just bought the bit and gone this route. The fact that my circles aren't perfect drive me a teenie bit crazy.
The legs are kind of tricky. You need to round the tops so that the legs will move freely from resting to standing and so that the feet are flush with the ground. Read the instructions for complete details, I don't want to mess anyone up. But below are some progress photos.
I will say that I skipped the stack your board until it's 12" of the ground step. I am not serious enough about corn hole for that kind of precision. Instead I just measured 12" from the point that I mitered the feet. It's not exact, but no one has complained so far that I don't meet "competition requirements."
I will also say that a 3/8" hole is pretty freaking big. A bit that size wasn't in any of my bit kits. I ended up making a special trip to Home Depot for the appropriate size bit. Just a reminder to check before you start.
Insert your bolt, washer and wing nut and tighten. The legs should move without too much resistance and rest flush on the ground when extended.
Construction is complete!
Phase Two: Spackling
As I mentioned before, my plywood was not at all smooth. I was fairly concerned that this was going to prevent the bags from sliding across the surface of the board. You already need to spackle the holes you made screwing the top to the frame. I took this one step further and spackled the entire surface. Spackling will give you a super smooth finish regardless of the condition of the wood. Plus it's basically like frosting a giant cake, except that you have sandpaper to make the surface super super smooth. I didn't intend to spackle the entire thing, but I'm really glad I did.
You can see the surface wasn't super smooth at first. But that is easily fixed. Simply sand the spackle down using various degrees of sanding paper. And don't worry, spackle sands super easily so it's a fairly quick and fairly easy process.
Once everything is smooth apply a couple coats of primer.
Phase Three: Painting
Once you have finished priming it's time for my favorite part, painting! I decided in advance that I wanted the boards to have the shape of Texas and be in two contrasting colors. I enlarged a map image of Texas until it was close to the size of my board. I printed it out, taped it together (I think it was 6 pieces of paper), cut that out and then traced it onto contact paper.
My theory was that I could put the entire image onto the board and then paint over it. Peel the contact paper off and voila! Texas! This did end up working perfectly. To make the contrasting boards, I needed to have the base color of one board be blue and one board be white. What I ended up doing was painting a small section of base color roughly in the shape of Texas. I did about 3-4 coats of the blue and 3-4 coats of the white (simply because I already had to wait for the blue paint to dry). By not painting the entire board, it made covering up the blue with the white paint much easier. Once the coats dried, I stuck the contact paper down making sure it was only located on the blue/white section of the board, respectively.
I then used a credit card to smooth the contact paper out as much as possible. This will help prevent any bubbles and keep your shape as clean as possible when you paint the top coats.
One other piece of advice. When using contact paper, the side with paper is actually the back. Soooo when you trace your shape onto the paper side, flip it over otherwise it's going to be backwards. Ask me how I figured this out.
Your contact paper Texas goes on the blue part and then gets painted over with white paint. It's the complete reverse for the other board.
Once you get the contact paper on simply paint the entire board using the contrasting color. Another 3-4 coats and your boards should be painted. Let the paint dry fully before you attempt to remove the contact paper.
I used my handy dandy razor pen to gently peel up a corner of contact paper and then began ever so gently peeling it off. To be honest, I was slightly terrified removing the contact paper (hence the lack of photos). It was SO exhilarating once I realize that it was crisp and pretty dang awesome looking!
After that simply slap on a couple (dozen) coats of schellac and your boards are done! Full disclosure, I bought eggshell paint because I hate high gloss paint. But the boards need to be high gloss for the bags to slide across them. As a result, I have applied about 20 coats of schellac and am still going. You can avoid this by getting high gloss paint from the beginning.
Phase Four: Sewing and Stuffing the Bags
Lastly you're going to need some bags to throw at your new and very awesome corn hole game. You can actually buy these from a variety of sellers online, but I've ever been one to go that route. I picked up white and the darkest blue duck cloth I could find and set to work. If you have any experience sewing, it's really as simple as sewing a pillow.
I bought the paint pen in case I need to do touch ups, but I didn't end up using it.
I wanted my bags to replicate the Texas that was on each of the boards. So I shrunk the same Texas down to fit on my bags and cut it out from another piece of contact paper. (This Texas was actually backwards once I pulled the paper backing off. So remember, flip it when you're tracing.)
I had a bit of a tricky time getting the contact paper flush with the duck cloth to prevent the paint from bleeding. I tried a rolling pin and credit card. The credit card worked the best.
Once the pieces were dry it was simple a matter of pinning, sewing, ironing, and stuffing. Leave a couple inch gap on one side so you can stuff it with your filling.
Stuffing them kind of sucked. Each bag needs 1 lb of stuffing and you kind of have to force it to get it in there. I opted for rice this time, because it was the cheapest and easiest thing to get. I plan to buy the plastic pellets sold specifically for corn hole bags very soon in the future and simply replace the current stuffing with the plastic pellets.
Supposedly you can stitch the final side using a sewing machine. But after breaking two needles, I decided that my sewing machine was having none of that. So I ended up hand stitching each bag closed using a very small loop stitch. It was very tedious and I was already exhausted. But it actually didn't take entirely too long and then the entire project was FINISHED!!
They've already gotten a decent amount of use (clearly they neeed to be cleaned). All in all it was a very doable project; not one time did I ever think it was going to be a complete disaster.
I hope this inspires you to make your own set. It is so much satisfying to tell people you built those babies from scratch.