Monday, February 28, 2011

Sun Drenched Days Await! (Invitation DIY)

I grew up on a beautiful lake.  My summers were filled with sunshine, tanned skin, lazy days and lots and lots of sunscreen, although probably not as much as I actually needed.  Growing up though, I took it for granted.  I really didn't even like my hometown growing up.  And I 
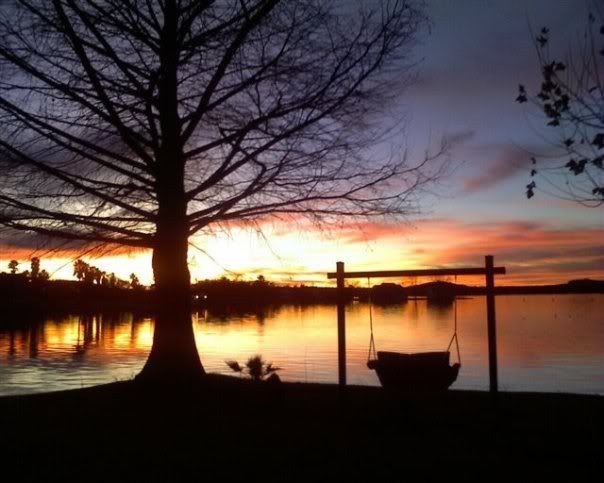
certainly never expected that in my mid-twenties I'd be gushing about it in the way that I do.  It wasn't until I moved to Dallas that I truly began to love and appreciate the lake.  It wasn't until I couldn't see the stars or be woken up by squirrels and birds (as opposed to planes, trains and automobiles) or spend all afternoon floating around on a raft with a cold beer  that I finally realized how much the lake and my hometown were part of who I am.  And so now, I have a long distance relationship with my hometown.  I go as often as I can, but not as often as I'd like.  And, if luck will have it, I'll be closer than four hours sometime in the future.  For now though, I get to enjoy bringing others to the place I call home.

  
And yes, all of these photos were taken back home. Jealous?! :)
Spring break is just a mere two weeks away, halleljuah!, and I will be leaving for good 'ole Lake LBJ in a car full of friends, law students, significant others, and a couple of pets!  Excitment really doesn't even begin to cover it.  Since this is my first lake trip with my law school friends, I decided a proper invitation was in order.  That and I'm convinced that everyone deserves a little snail-mail love every now and then.  There is just something about actual paper mail that makes everyone smile.

So I set about to creating the perfect lake appropriate invitation.


Materials:

  • Floral Gift Tag Download (See info below for download information.)
  • Photoshop or some other editing software
  • Cardstock and Evelopes
  • Raffia
If you haven't had a chance to check out the fabulous blog, Eat Drink Chic, do so immediately.  Amy Moss, the creative genius behind the blog, always has fantastic and innovative ideas ranging from graphic design, origami heart invitations (which I seriously love), and all kinds of tips and tricks.  What I love and appreciate most about her blog is that she often posts adorable downloads you can use for personal projects.  I happened to stumble across these adorable Summer Floral Gift Tags.
Photo from Eat Drink Chic, and can be found here!
Instructions:
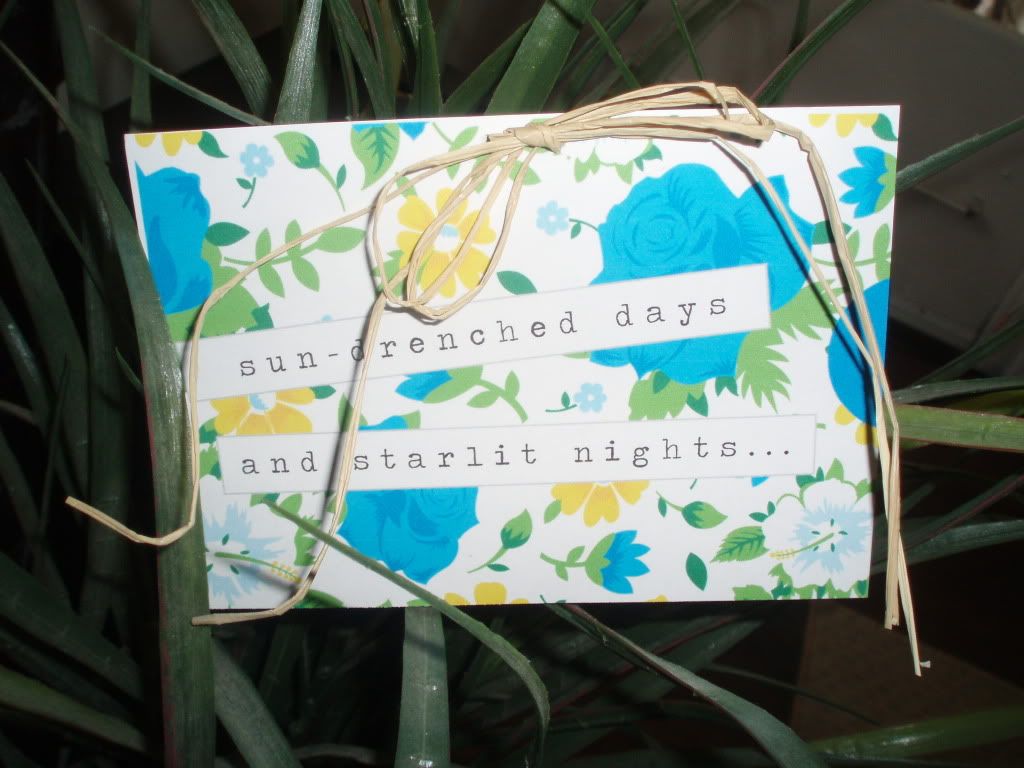
  • I absolutely loved the "Sun-drenched days and starlit nights" one, and it pretty much sums up my love for the lake.  I didn't need gift tags, so I set about to alter the tags to fit what I needed.  Using Photoshop, I cropped the tag so that it was a rectangle.  I then changed the DPI resolution to 350, so that when I blew it up I wouldn't lose any of the quality.
  • I enlarged the rectangle (using free transform on Photoshop) until it was exactly 5x7".
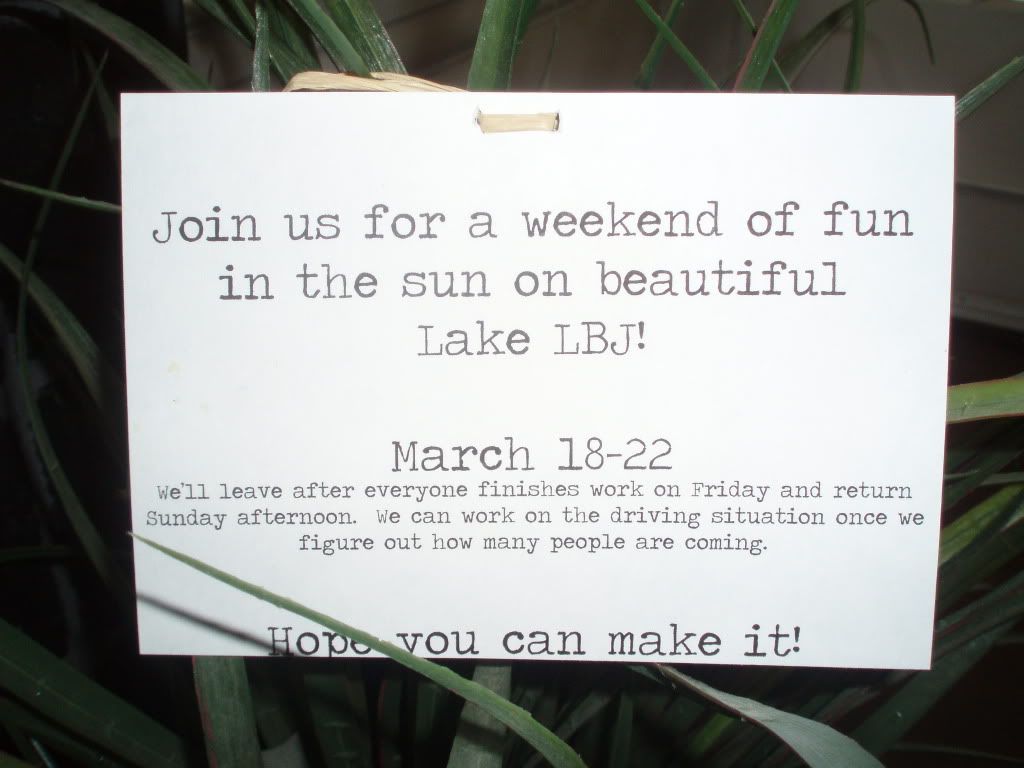
  • I then created another Photoshop document sized at 8 1/2 x 11 and used grid lines to get two cards per page.  Using the same grid line set up, I created the text for the back of the card.  When I was satisfied (finally) with my end result I printed the front on a piece of cardstock and then printed the back of the card on the back.  Viola!  
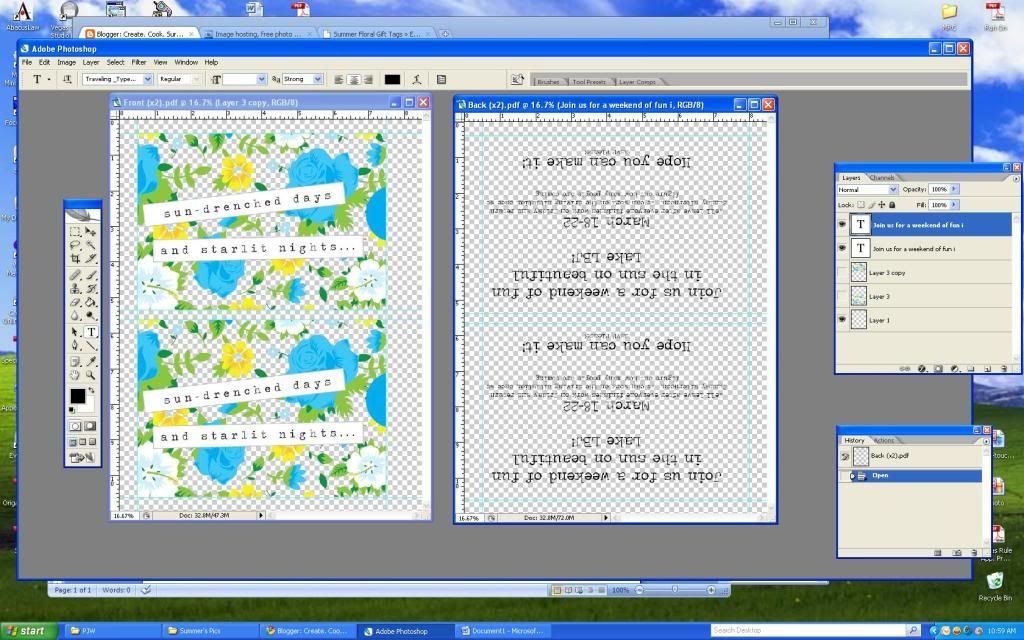
It's kind of confusing to explain, but here is basically what it looked like on the screen.
  • Then I created cute little address labels to go on the back of the cards and type the recipients' address on the front, using the Traveling Typewriter font, which may be my new favorite.
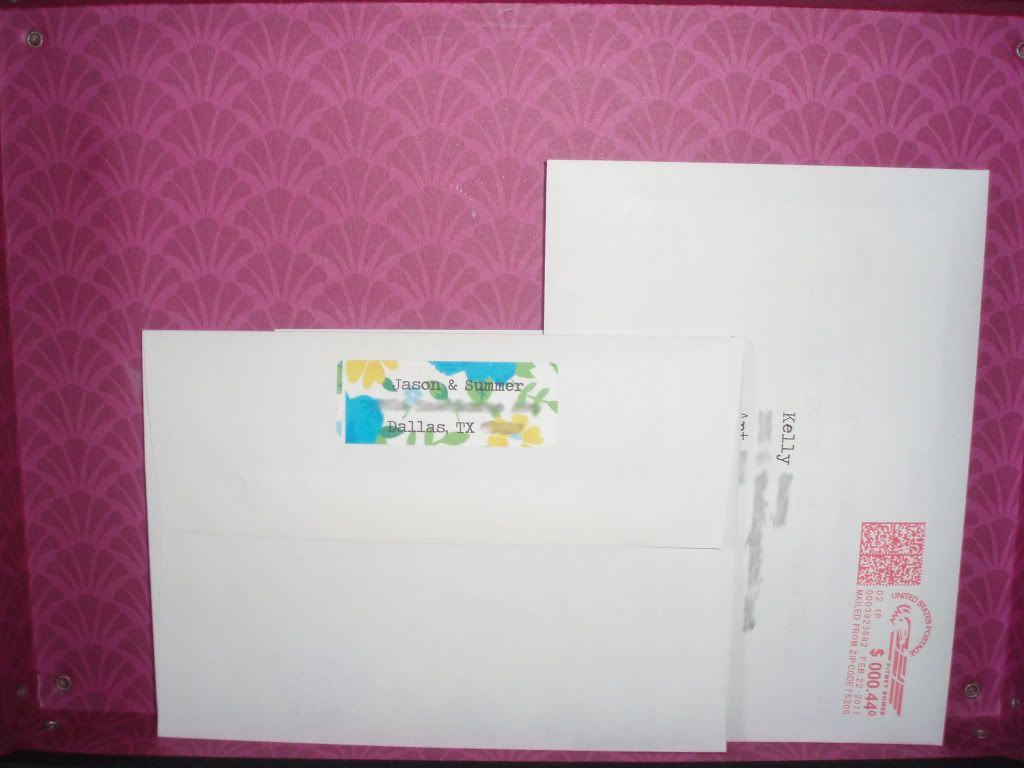
And no, I'm not giving you my address, you crazy internet creeper! :) 
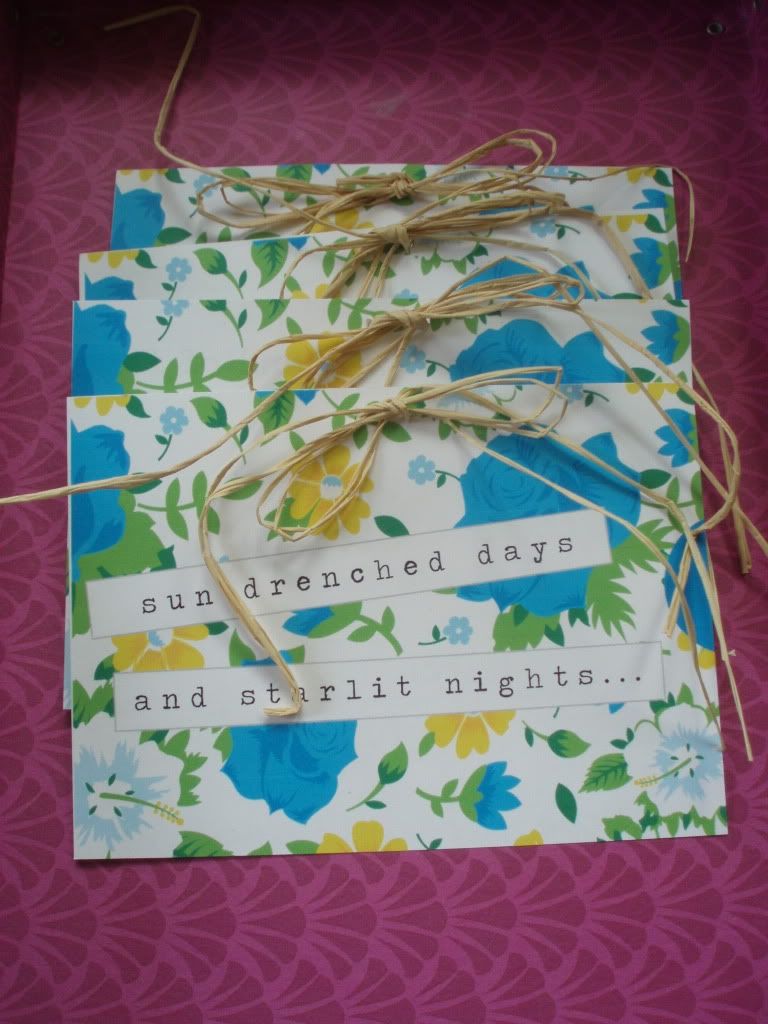
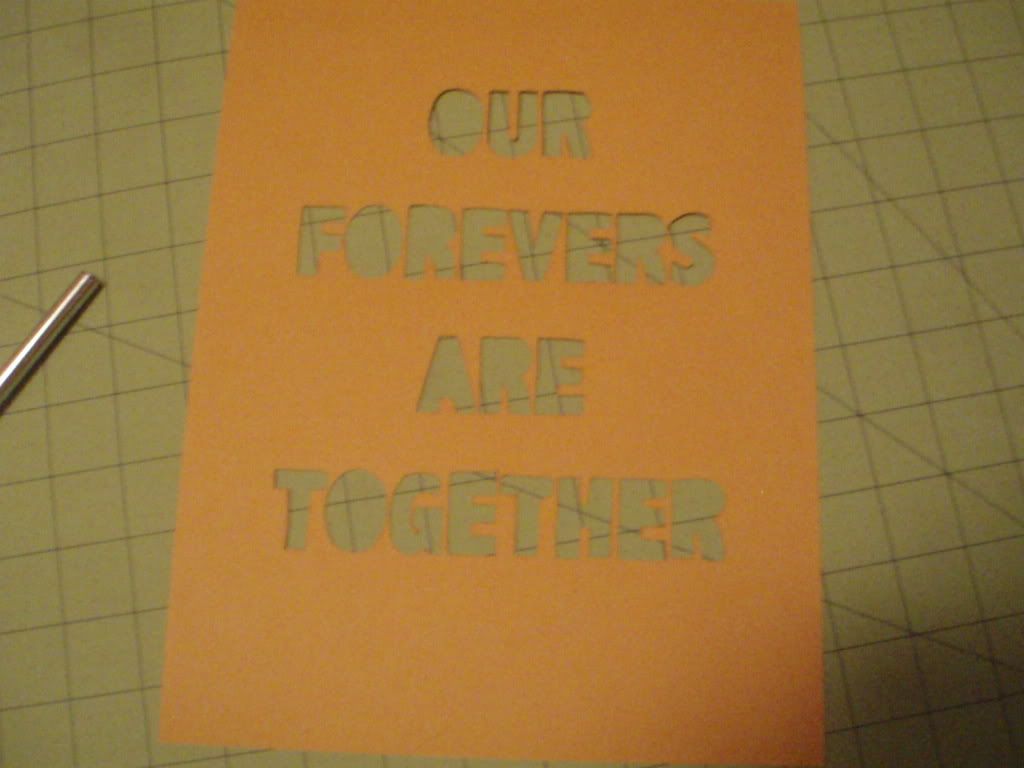
  • Lastly, I cut two little slits in the top of the card and threaded some raffia through the slits.  I tied it in a cute bow and my perfect lake invitations were ready to be mailed!  Now all that's left is to count down the days to sun-drench days and starlit nights!
Happy (Almost) Spring!

Tuesday, February 22, 2011

A Love Story and a Super Easy Craft

I am in love.  Now I know what you're thinking, I've said it before.  But this time it's different.  I have found the one.  The most perfect craft knife...ever. It's the small things in life, really.


You may be wondering what's so great about a craft knife and that they're basically all the same: a sharp razer blade set into a pen shaped object.  Wrong.  I have seen some beautiful works of art made out of paper.  Like the photo below.  Aside form the insane amounts of patience and love that go into those thumb prints, I  knew she couldn't just be using a regular craft knife.  I can barely cut a simple circle with my craft knife, much less a thumb print the police department would be jealous of.

Andrew+Lauren_8.2010_HiRes
Image from http://loridanelle.com.  She sells these beautiful creations on her site.  They'd make a beautiful wedding or baby gift.
And then one day I discovered the answer.  While perusing my local craft store, I came upon the Fiskars Swivel Detail Knife.  So what's so great about it?  The. Razor. Blade. Swivels.  Which means that when you come to a curve or a circle or really anything other than a straight line you can use the knife like a regular pen, enabling those hereto impossible circles to actually look like circles and not some jagged mess.  Best of all it's less than $10.  And that's why I fell in love with a craft knife.

Now that you have a new love, I mean craft knife, what to do with it?
I am currently working on a collage installation to go above the currently very large and very bare wall above my headboard.  I've decided to do a whole mess of photos, paintings, graphic art, phrases, etc. that all center around love and life.  So that's what this piece is for.  And here it is: one of the easiest crafts you can ever make.  Seriously.

Materials:
  • Swivel Head Craft Knife
  • Cardstock
  • Cutting Mat (not even necessary, but makes the cutting process easier since you don't have to worry about damaging whatever surface you are using to cut on.)
Instructions:
  • Pick out a phrase to cut out. I chose "Our Togethers Are Forever."  I read it on a blog somewhere forever ago, and really liked it.  Type the phrase using a word processors and print out on your cardstock.  Helpful hint: Change the font color so there is only a faint outline around the letters instead of them being solid.  It makes the cutting out easier.
  • Slowly and carefully begin to cut out each letter.  The last thing you want to go is cut off part of a letter and have to start over.  I kept the cutout letters.  Not sure what I'm going to do with them, but I'm sure I'll think of something.
Ta-Da!  Took about 10 minutes.
Find somewhere cute and hang it.  I chose my nightstand and just hung it with tacks as a temporary place.  Once I finish the entire installation it'll be part of that.  I have definite plans for some more difficult cutouts, but I figured this was a good way to test out the new knife.  Give it a try!  It's really not hard!

My nightstand is clearly a work in progress...don't judge.

Thanks for stopping by!
And for those of you who are tired of looking at my terrible point-and-click digital camera pictures, fingers crossed a new Canon EOS Rebel will soon be heading my way!

Thursday, February 17, 2011

Sweating to Bikram Yoga

 I have always been a fan of outlying athletics.  While most of my friends and classmates played basketball, volleyball or ran track, I competed intensely in gymnastics, took ballet, and eventually was a cheerleader.  Please do not start the "cheerleaders are not athletes" debate.  Anyway, bendy core-driven athletics have always been my thing, and yoga fit perfectly into my athletic skill set and my need for some kind of serenity.  After a couple years of regular Vinyasa flow yoga, I decided to step it up a notch.

All yoga photos taken from Yoga Dallas, which just happens to be where I sweat it out 5 times a week.

Recently I started Bikram Yoga.  For those of you've never heard of Bikram Yoga, it's a series of 26 yoga poses done in a 105 degree room.  Now I'm sure most of your are thinking that I have officially gone off my rocker to voluntarily spend 90 minutes in a blistering hot room, and even crazier to attempt to twist my body into crazy poses in said room.  However, it's less crazy than you think.


Yes, the room  is hot.  Yes, the poses are hard.  Yes, sometimes I want to pull my hair out the. entire. 90. minutes.  But I stick with it.  I focus on the task at hand. And in doing so it's the only thing I think about those 90 minutes.  For that time, I'm free of anything else outside that room.  I'm free of school stress, life stress, relationship stress.  It has, in the short time I've been doing Bikram Yoga, improved my concentration and mental dexterity.  Yes, I've probably drank the yoga Kool-Aid, but it really does help.


I've had classes, where I've counted down the poses.  Begged internally for the damn class to end so I could breathe some fresh air.  And miserably and somewhat begrudgingly do each poss.  But even those classes, those miserably difficult classes, leave me with a sense of triumph.  Because I didn't leave.  I easily could have walked out the door.  But I didn't.  And so, I'm filled with that post workout high people are always talking about, but that I've never experienced until now.

So I highly recommend you give it a try.  It will be difficult.  It won't be fun per se.  But I promise it's one of the best ways to spend 90 minutes.  And if you're in the Dallas area, feel free to come with me.  It's far less intimidating to have some you know on the mat next to you.

Until next time,
Namaste.
Yoga Dallas

Tuesday, February 15, 2011

Chili for When It's Chilly

I am a seasonal eater; I base my meals on the weather.  And with this recent cold spell we've had in Texas, which fortunately just ended, I have been cranking out soups of all sorts the past couple of weeks.  Chili is one of my favorite cold weather foods.  I've spent several years tinkering with this recipe trying to find the best ratios of things.  I usually put at least one jalapeno and one Serrano pepper in my chili, but I was making it for several people, and I decided I wouldn't try and kill them.  If you love spicy food, go ahead and throw them in.


SummerTime's "World Famous" Chili (and by world I'm referring to my apartment).

Ingredients
  • 1 lb pork sausage
  • 1 lb ground beef
  • 1/2 lb bacon, cut into lardons.
  • 1 medium sized onion.  (I happened to have some leeks on hand and used 1/2 onions and 1/2 leeks, because I could.)
  • 3 garlic cloves, grated
  • 1 tablespoon spoon each: cayenne, cumin, chili powder, garlic powder, smoked paprika
  • Two 28 oz cans whole tomatoes
  • 1 can beans; I used cannellini beans this time, on a whim.  (And I know there are fierce debates about whether beans should be in chili, but I decided they sounded good this time around.)
  • Optional though recommended: 1 jalapeno and 1 Serrano pepper.
Instructions
  • Dump the cans of tomatoes into a large saucepan.  Mash them with either your hands or the back of a wooden spoon. Depending on the type of tomatoes you purchase, you may need to pull out the stems.
  • Brown each of the 3 meats separately and add to the tomatoes.  Drain rendered fat, if necessary.
  • Chop the onion into a medium dice (as well as the leeks, if you happen to be using them).  Add
  • Grate the garlic gloves directly into the saucepan.  (If using, add the peppers in here as well.)

  • Bring to a simmer.  Once simmering, add each of your tablespoons of spices.  Reduce heat to low and simmer uncovered for about 2 hours.  Add the tomato sauce to thin to desired consistency.  It will be fairly thick until this step.
Not a necessary picture, but my matching spice jars makes me happy.  And I'm not sure where the paprika jar went.
  • Bring back to a simmer, and simmer until thoroughly hot.  Season to taste with salt and pepper, although I generally do not need much salt, because of the saltiness of the meats.
  • Serve warm with cornbread.  I generally use this recipe, although I half the amount of sugar called for and use a mixture of white and brown sugar.
And on a completely unrelated note...

I finally got around to buying some Mason jars to store pantry items.  You see, I have an extreme weakness for the bulk section at Central Market, but I was getting really sick of having small Ziploc bags of food everywhere.  And I did not want to spend the ridiculous amounts of money at The Container Store for matching food storage containers.  I have a weird obsession with things in matching containers.  It's an addiction really.  Fortunately, I had an epiphany to store them in Mason jars, which are both lovely and practical.  It's a "win-win."  That one's for you Kel.


They make me swoon.  And people think I'm high maintenance.


And I got a little Photoshop happy the other day and decided to change the header on the blog.  I hope you like the new look!

Until next time!

Friday, February 4, 2011

A Homemade Christmas

I've been meaning to post these for a while, but here are a couple of gifts I made this year for Christmas.

For a little baby girl.
And this one is for her brother.  I love the flames.

Designed this for my sister (who goes to UT) on Photoshop using the "Keep Calm and Carry On" craze as inspiration.   Definitely enjoyed being able to put my logo on something

A coffee mug for my Grandma.  The top said "grandma's make the world go round."  Then I painted stick figures  for all of her grandchildren and used our thumb prints as the heads.   I also painted "We love you" on the handle.  She really loved it.


Wednesday, February 2, 2011

Baby It's Cold Outside

It is frigidly cold in Texas right now.  So cold that almost everyone I know has been stuck inside for the past 2 days and there are rolling power outages because too many people are using too much electricity.  A thing you may not know about me is that I don't drive in bad weather.  So when the news people recommend staying at home unless you absolutely have to leave, I do.  It also makes it easier when your boss frequently tells you that you're not necessary you're superfluous.  That said, I'm going to keep my superfluous self home and finish up some craft projects.


Many of you know that I moved recently! Since then I've been finagling things, trying to find everything a new home.  A rather ugly and open storage piece now serves to house my DVD collection.  I hate exposed storage.  I knew I had to cover it and here's how I did it. 
I'll eventually close the middle better with snaps and add satin ribbon to the bottom, but I didn't have any at home and was certainly not venturing out today.
And in case you were wondering, here is what it looked like before...
Really drives me crazy. And yes, that's every episode of Seinfeld.
 Materials:
  • 3 yards of heavy weight fabric.  (I used a linen.)
  • Painter's tape (a lot)
  • Very very very watered down paint.  I used about a 50/50 ratio. but you could increase or decrease the water depending on how translucent you wanted your final paint to be.
  • Basic Sewing Equipment
Instructions:
  • First you need to measure the piece you're going to cover.  For a 1/2 inch seam add a full inch to the measurements.   So if your cabinet side is 12x35 (like mine was), your final measurements will be 13x36.  Measure each side and cut out the corresponding fabrics.  This is a vital step.  If your measurements and cuts aren't correct, your cover will not fit properly so take your time.  And remember, measure twice, cut once!  Also, there is where a rotary cutter, large clear ruler, and a measuring mat come in extremely handy.
  • I cut the front piece into two sections and increased the total width by 5" inches on each piece. This enabled me to overlap the middle, so I can easily access the DVD's without them being easily visible.
Herringbone Pattern
I love herringbone, a lot.  I couldn't find a fabric that I loved, and I've been wanting to create my own herringbone pattern for a while.  (Originally I wanted to paint it on the wall, but my landlord didn't want me to paint.  Boo.)
  • The first step is to determine the size of your V's.  The taller the V's the more modern the overall effect.  I'm a fairly traditional girl so I made mine fairly wide.  My V's were 8.5" wide and 4.5" tall.
  • If you have some grid paper, by all means use it, but if not I just used a couple sheets of notebook paper.  I originally tried to write out all of the instructions, but I think they ended up being way to long and way too confusing.  However, put simply, the vertical lines in the pictures are measured at 4.25" and 8.5".  The horizontal lines are 2.25 inches apart.  I then connected the intersections of each line to from the necessary V's.  Repeat each V until you have about 6 total.  
  • Using a straight edge, cut out the herringbone.
  • Using the template, trace the pattern onto the fabric, all the way down.  It's a tad time consuming, but keep with it.  Once drawn, tape out the pattern using the painter's tape.  Conceivably you could skip the drawing step, but I didn't want to change it and end up with wonky lines.


  •  Mix whatever paint you decide on and mix with water to reach the desired consistency.  I used a light blue and a black paint and water it down with about 50% water.  Paint in between the painter's tape and let dry.  Once dry, remove tape, but keep it because you'll use it to paint the side pieces.


  • Using the already sized tape, repeat with the side pieces.

  • To assemble, pin with right sides together, the front, side, and back pieces.  Sew together using a small, straight stitch.  Once complete, pin the top piece to the body and sew.  (Essentially you're creating a large rectangular bag.)
  • Snip the corners, iron the seam and viola, you're done!  Your storage items are now out of sight and out of mind.

Stay warm!