
I am in love. Now I know what you're thinking, I've said it before. But this time it's different. I have found the one. The most perfect craft knife...ever. It's the small things in life, really.
You may be wondering what's so great about a craft knife and that they're basically all the same: a sharp razer blade set into a pen shaped object. Wrong. I have seen some beautiful works of art made out of paper. Like the photo below. Aside form the insane amounts of patience and love that go into those thumb prints, I knew she couldn't just be using a regular craft knife. I can barely cut a simple circle with my craft knife, much less a thumb print the police department would be jealous of.
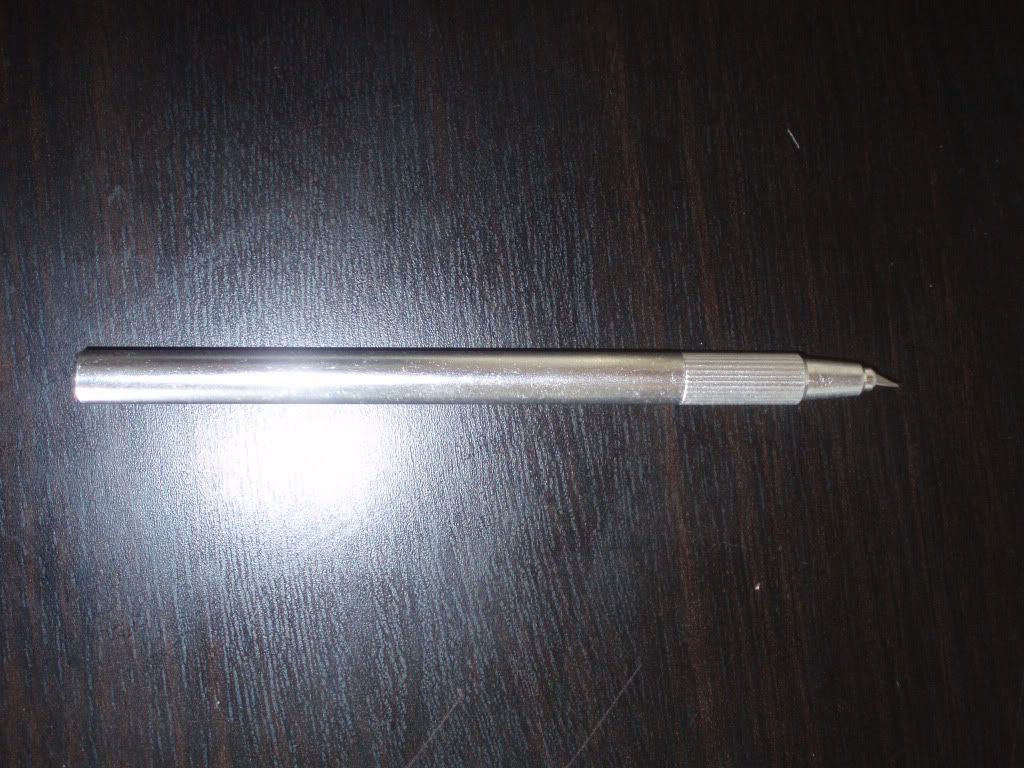
And then one day I discovered the answer. While perusing my local craft store, I came upon the Fiskars Swivel Detail Knife. So what's so great about it? The. Razor. Blade. Swivels. Which means that when you come to a curve or a circle or really anything other than a straight line you can use the knife like a regular pen, enabling those hereto impossible circles to actually look like circles and not some jagged mess. Best of all it's less than $10. And that's why I fell in love with a craft knife.
Now that you have a new love, I mean craft knife, what to do with it?
I am currently working on a collage installation to go above the currently very large and very bare wall above my headboard. I've decided to do a whole mess of photos, paintings, graphic art, phrases, etc. that all center around love and life. So that's what this piece is for. And here it is: one of the easiest crafts you can ever make. Seriously.
Materials:

You may be wondering what's so great about a craft knife and that they're basically all the same: a sharp razer blade set into a pen shaped object. Wrong. I have seen some beautiful works of art made out of paper. Like the photo below. Aside form the insane amounts of patience and love that go into those thumb prints, I knew she couldn't just be using a regular craft knife. I can barely cut a simple circle with my craft knife, much less a thumb print the police department would be jealous of.
 |
| Image from http://loridanelle.com. She sells these beautiful creations on her site. They'd make a beautiful wedding or baby gift. |
I am currently working on a collage installation to go above the currently very large and very bare wall above my headboard. I've decided to do a whole mess of photos, paintings, graphic art, phrases, etc. that all center around love and life. So that's what this piece is for. And here it is: one of the easiest crafts you can ever make. Seriously.
Materials:
- Swivel Head Craft Knife
- Cardstock
- Cutting Mat (not even necessary, but makes the cutting process easier since you don't have to worry about damaging whatever surface you are using to cut on.)
Instructions:
- Pick out a phrase to cut out. I chose "Our Togethers Are Forever." I read it on a blog somewhere forever ago, and really liked it. Type the phrase using a word processors and print out on your cardstock. Helpful hint: Change the font color so there is only a faint outline around the letters instead of them being solid. It makes the cutting out easier.
- Slowly and carefully begin to cut out each letter. The last thing you want to go is cut off part of a letter and have to start over. I kept the cutout letters. Not sure what I'm going to do with them, but I'm sure I'll think of something.
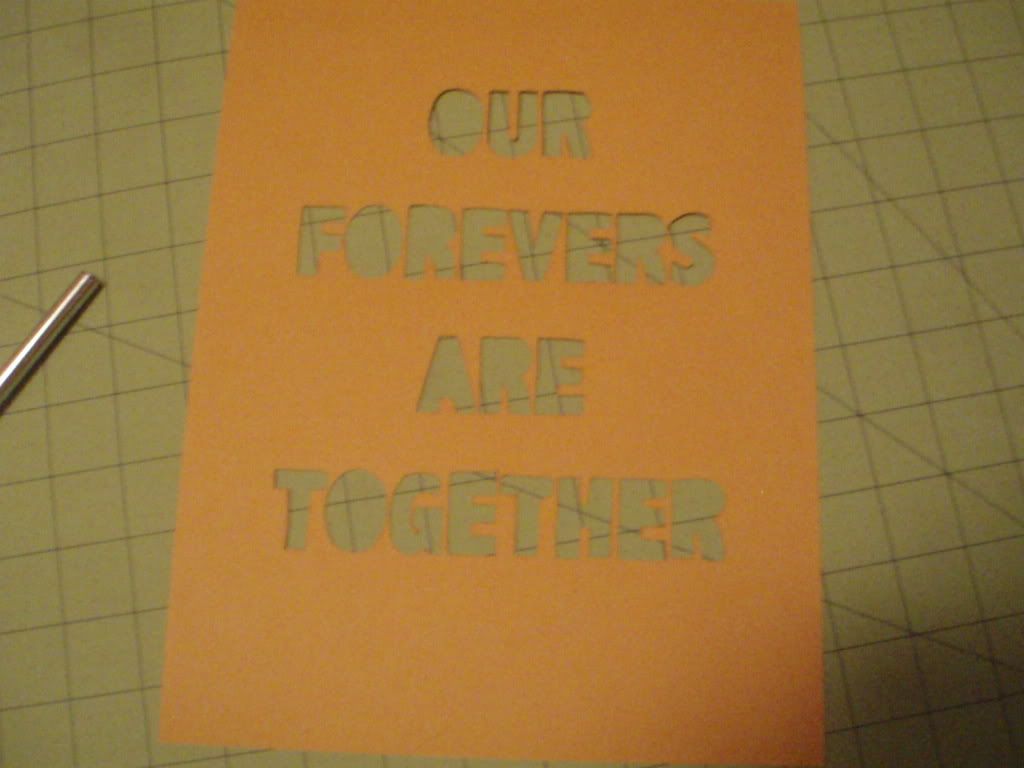 |
| Ta-Da! Took about 10 minutes. |
Find somewhere cute and hang it. I chose my nightstand and just hung it with tacks as a temporary place. Once I finish the entire installation it'll be part of that. I have definite plans for some more difficult cutouts, but I figured this was a good way to test out the new knife. Give it a try! It's really not hard!
 |
| My nightstand is clearly a work in progress...don't judge. |
Thanks for stopping by!
And for those of you who are tired of looking at my terrible point-and-click digital camera pictures, fingers crossed a new Canon EOS Rebel will soon be heading my way!
And for those of you who are tired of looking at my terrible point-and-click digital camera pictures, fingers crossed a new Canon EOS Rebel will soon be heading my way!
No comments:
Post a Comment