Monday, July 25, 2011

Office Overhaul: Closet Edition

I am currently in the midst of an extensive office overhaul.  My office has always felt like this weird hodgepodge of the furniture that didn't fit anywhere else, and to be honest, that's exactly what it was.  It's a pity I've neglected my office so much because it's the room I spend the majority of my time.  I decided long ago that I was going to tackle it before school started, and this weekend was phase one.  I yanked everything out of my overstuffed and completely disorganized closet.  It was pretty much a giant mess, and opening the door sent me into a tizzy almost every time.  Now the closet is neat, organized, and everything has a place.

The best about the closet overhaul?  It cost $40 total.  I love a beautiful organization makeover, but most of them are way over my budget and do things I can't do in a rental {i.e. adding an Elfa storage system}.  To accomplish the end result, I bought two sets of wire storage boxes from Target, which happened to be on sale for "back to school" promotions.  I also bought one of those Space Saver bags to condense all of y extra linens.  Other than it was a lot of purging, sorting, and categorizing.  I'm thrilled with the result, and am confident it'll {mostly} survive another round of law school craziness.

Diligently working to finish the rest of the office soon! 

And I apologize for the before picture.  I couldn't find my camera {you'll see why}.  I took the picture to send to a friend, because I was seriously doubting my ability to finish at that point.  I also didn't get any before pictures of inside the closet, but to be honest you wouldn't have been able to see anything but a bunch of junk.

Yes...literally all of that was shoved into the closet.

Everything in its place, and a place for everything.
And matching labels to boot.  Makes for an incredibly happy Summer.


Thursday, July 21, 2011

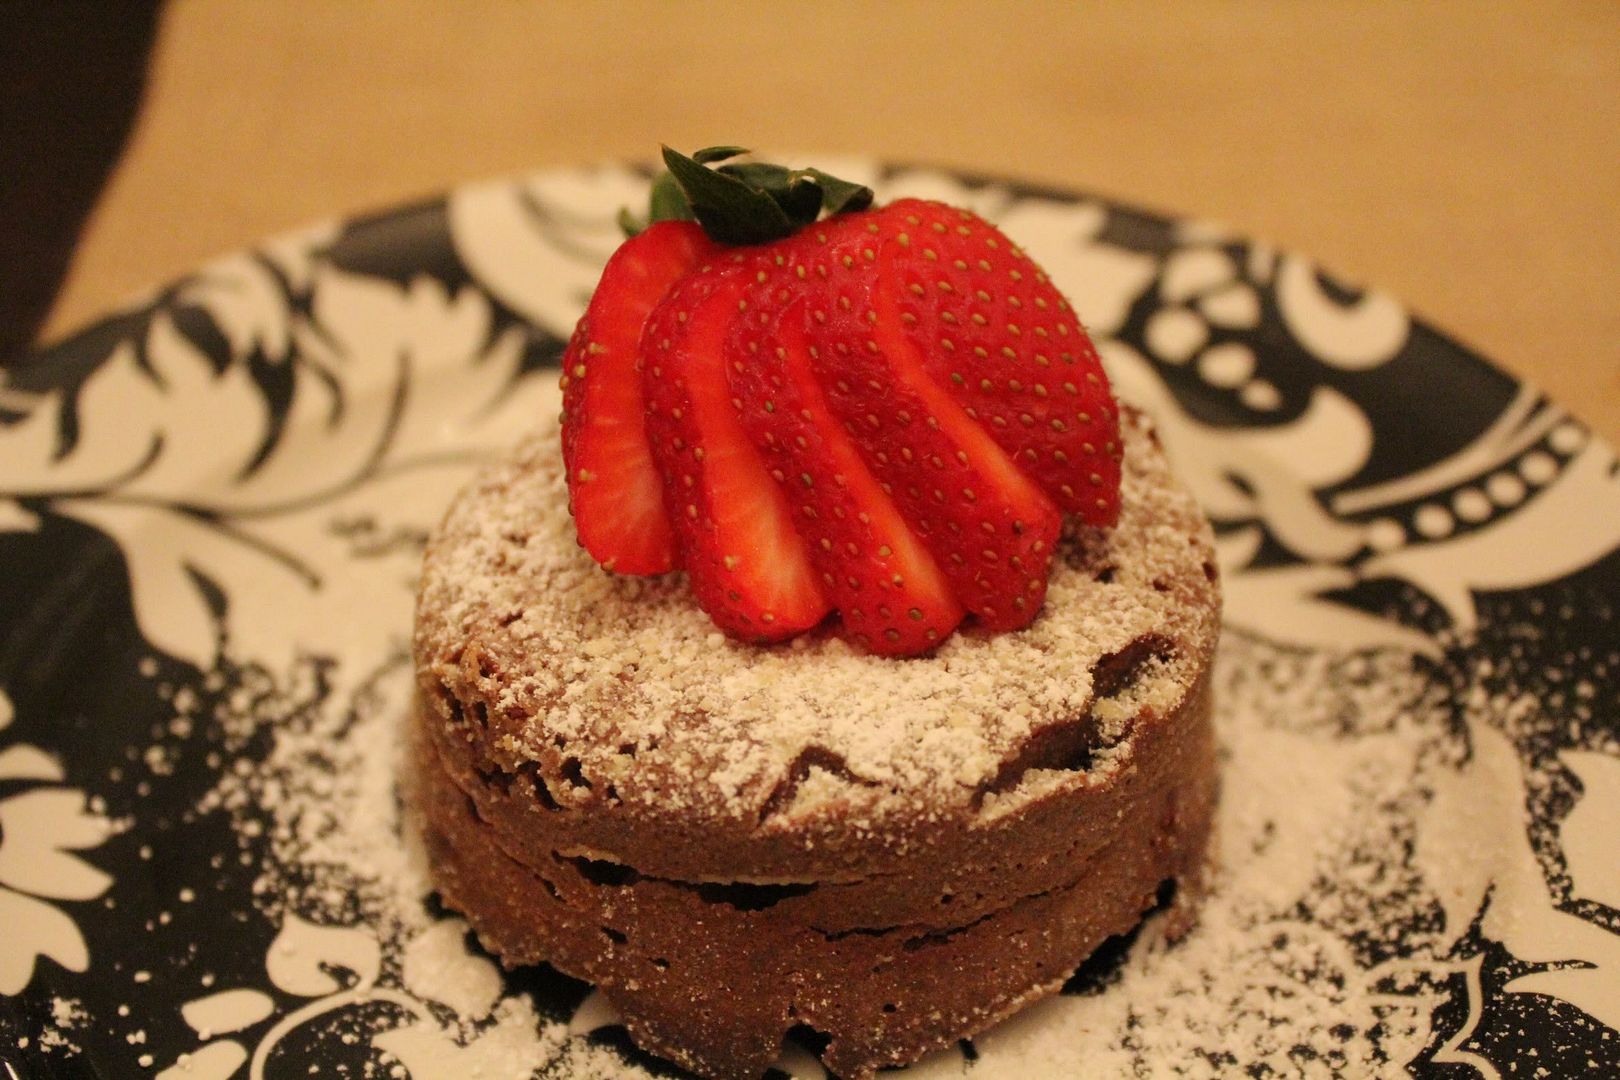
Cook Something: Molten Chocolate Cakes

Every once in a while, I'll get a craving for something sweet and chocolatey.  I'll admit, it normally happens after I see someone make a delicious dessert on a cooking show.  This is my problem with Iron Chef.  Every time I watch it I want to go cook something.  What can I say, I'm a strange duck.  I honestly can't remember what made me jump to molten chocolate cake.  It is one of my favorite desserts, but I don't know where I got the idea that I could make it.  Regardless after some quick searching, I found a recipe that looked incredibly simple and very delicious, and I was correct on both accounts.  The best part about this recipe is that it calls for basic pantry items.  The only thing I didn't have on hand was the dark chocolate, but I know some of you are bound to have some stashed in your house.  So after a quick trip to the store and a not so quick detour into Anthro (it's a wonderfully terrible combination that the grocery store closest to my house is also literally next to an Anthro.), I was in business.


Molten Chocolate Cake for 2
Adapted from Diner's Journal (I only made half of the original recipe, because I only  had 2 clean ramekins am master of restraint.)

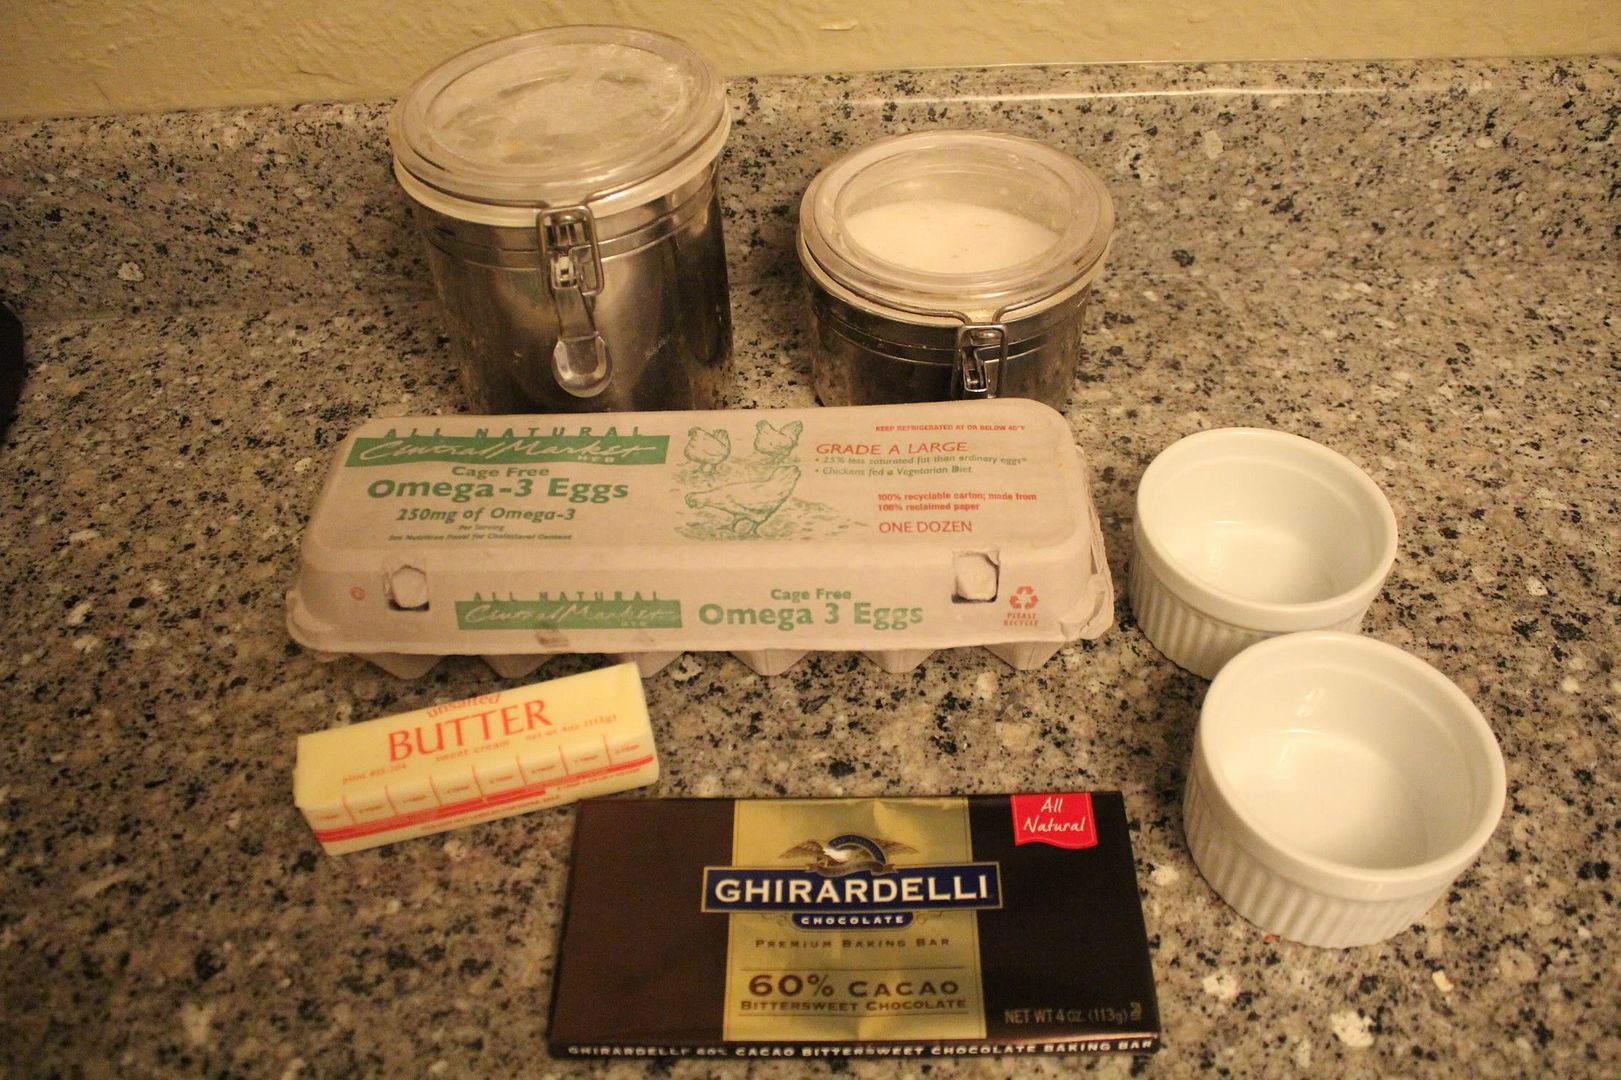
Ingredients:

  • 1/4 cup unsalter butter, plus more to butter the ramekins
  • 2 oz bittersweet chocolate, I used 60% cacao
  • 1 egg
  • 1 egg yolk (save the white and make this delicious sorbet)
  • 1/8 cup sugar
  • 1 tsp flour and more for dusting.  I originally planned and would recommend using cocoa powder to dust the ramekins so you don't have white powder on your cakes
  • Powdered sugar to top
  • 2 four-ounce ramekins

Instructions:
  • Preheat over to 450 degrees.
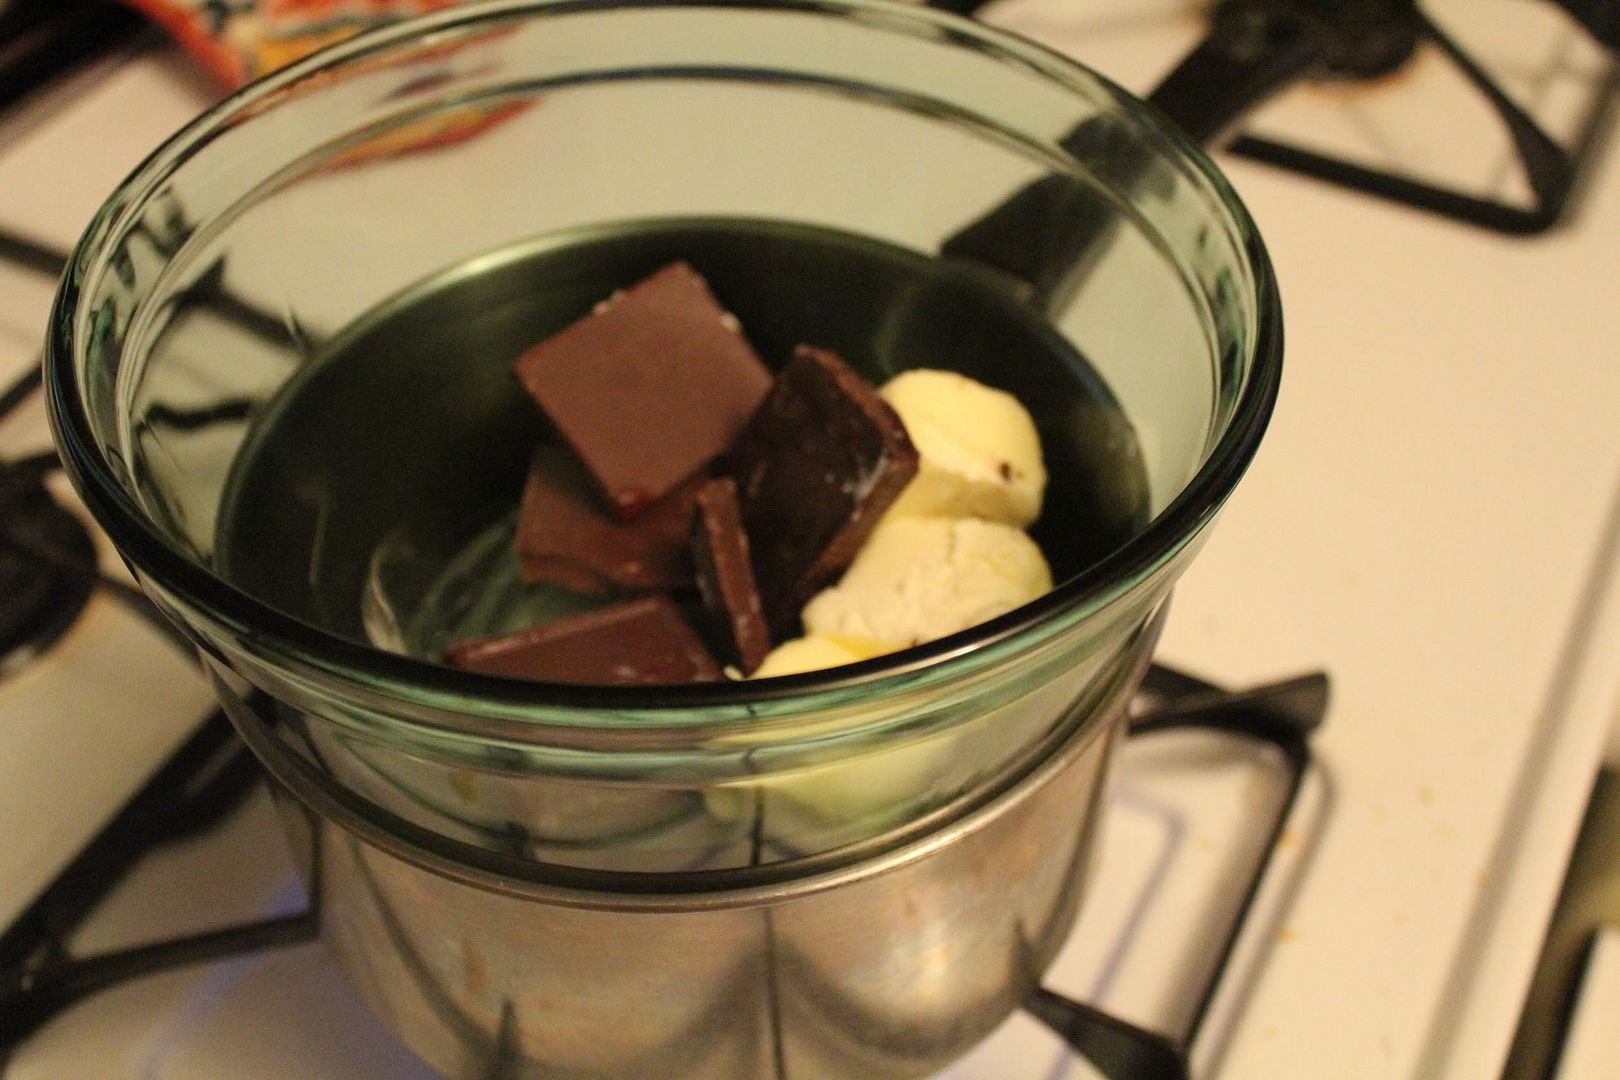
  • In a double boiler, heat the butter and the chocolate until the chocolate is completely melted.  Don't have a double boiler?  Me neither.  Simply stick a bowl on top of a pot; just make sure the bottom of the bowl is not in the water.  Otherwise the chocolate could get too hot and burn.

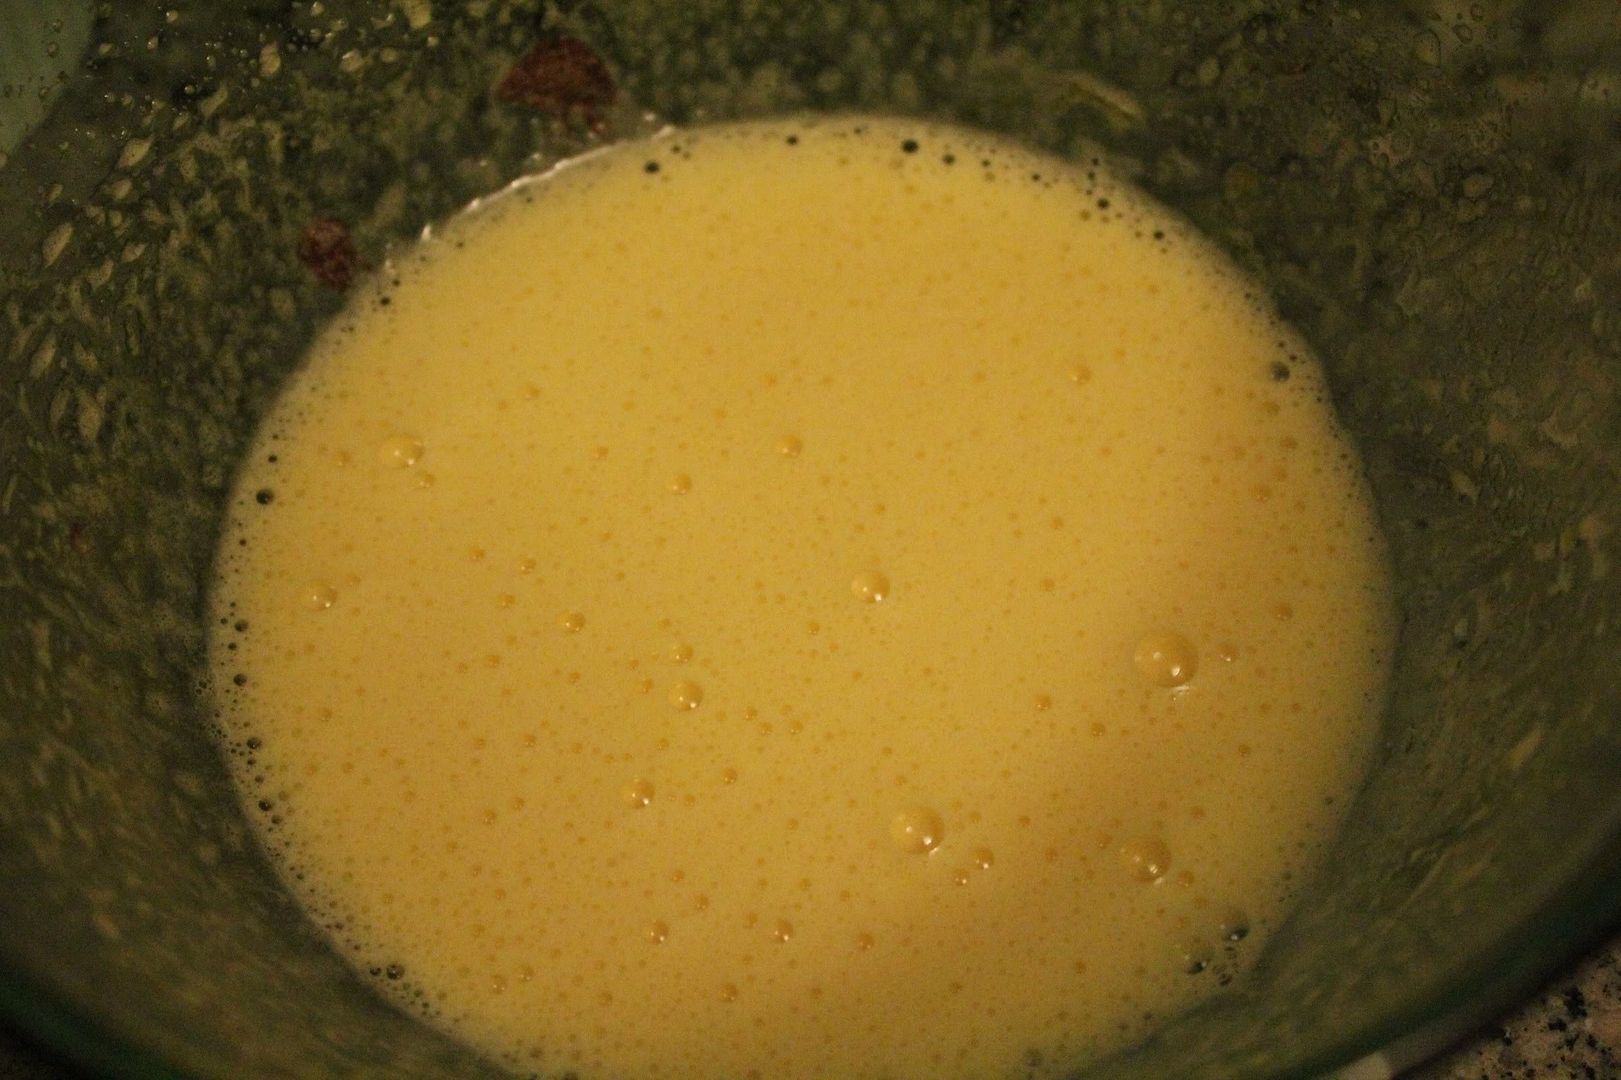
  • While the chocolate is melting, add the sugar and egg/egg yolk into a bowl and beat on high until thick but frothy.

  • Butter and flour (or cocoa powder) the ramekins, then tap out the excess flour.  
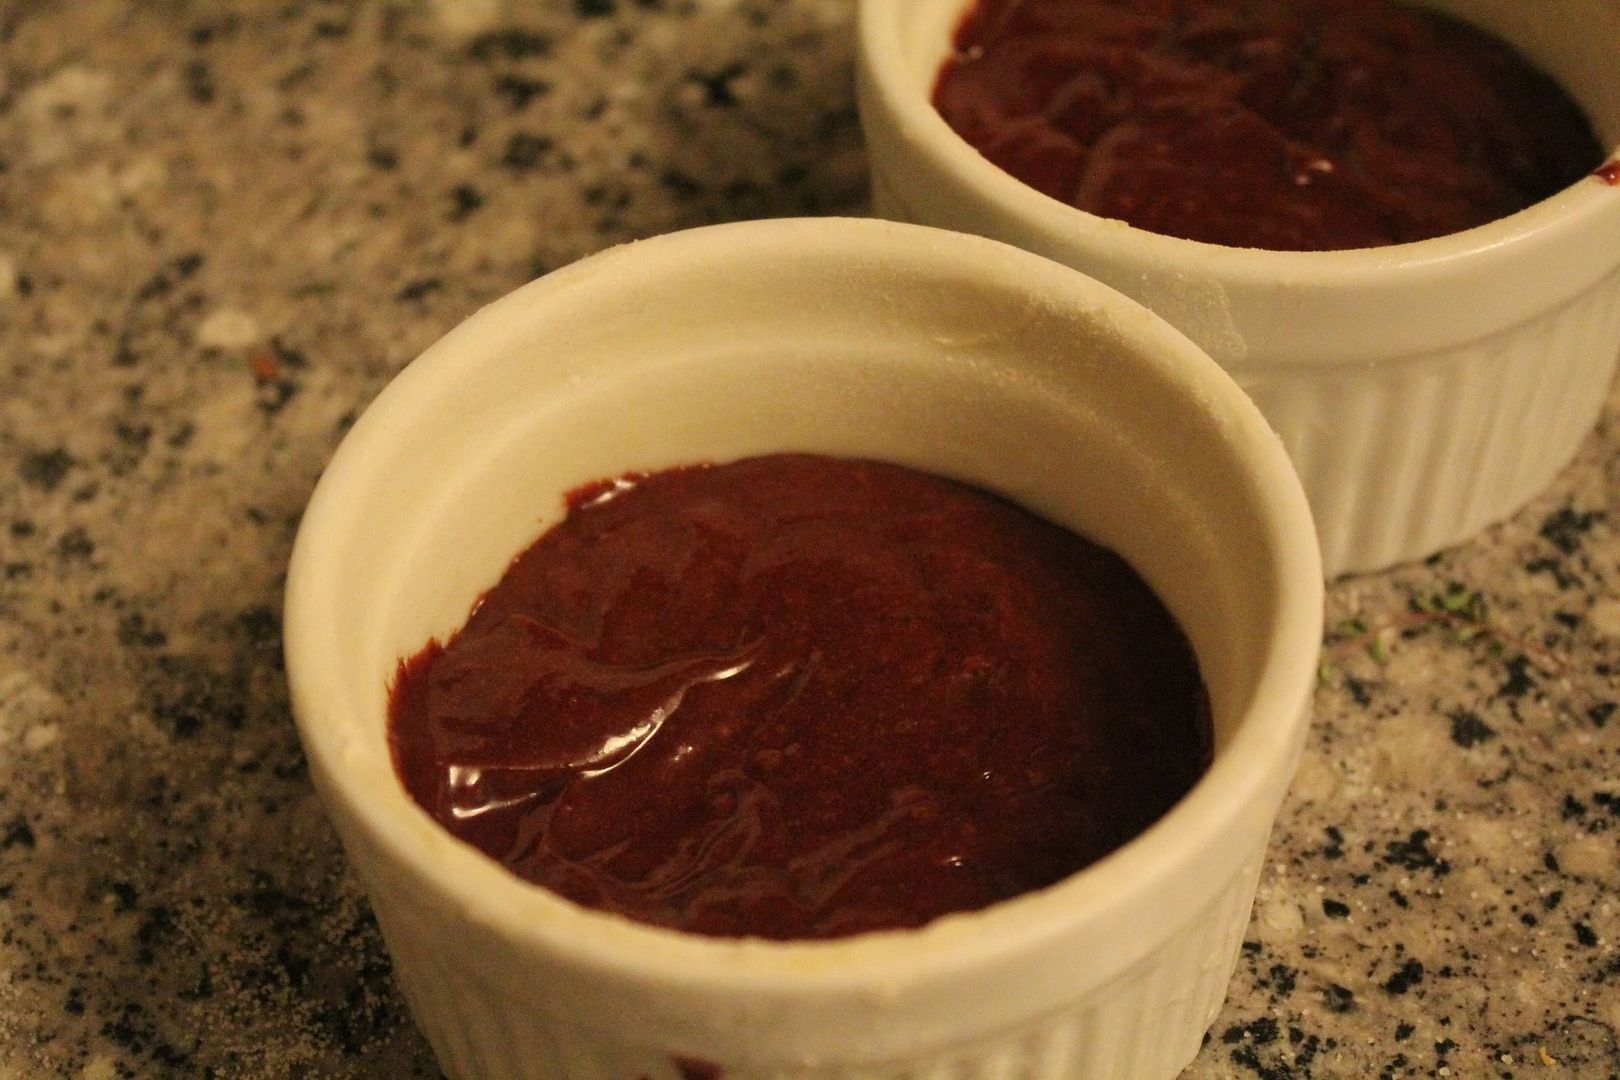
  • Pour the batter into the ramekins and bake for 6-7 minutes, until the side have set.  The top should also be set but still shiny.  Invert onto a plate and let sit for 10 seconds.  Pull down one corner and the cake will fall out onto the plate.
  • Sprinkle with powdered sugar and serve!
Was too busy shoveling the cake into my mouth Forgot to take a picture of the molten part of my cakes, so here's a picture from the recipe source:
molten chocolate cake
Source: Diner's Journal


Tuesday, July 19, 2011

Weekday Meals: Meatless Edition

I was too lazy busy to go to the grocery store yesterday, so I made a mad dash after yoga.  I didn't start cooking until around 8:30 so whatever I made was going to have to be quick.  I settled on one of my go-to meals: risotto.  Yes that's correct, I used "quick" to refer to risotto.  Many people have crazy misconceptions about risotto.  Maybe it's because you can order it a fancy restaurants.  Maybe it's because they don't know what it means.  Who knows?  Truth of the matter is that a pot of risotto can easily be prepared in around 30 minutes, making it a perfect meal to throw together on a Monday evening.


Risotto is a method of cooking a particular type of rice in a broth to a creamy, delicious consistency.  Once cooked, the rice should be liquidy but not soupy.  It should never be stiff, and for proof on that statement check out Wolfgang Puck's statements to Jyll on Food Network Star regarding her risotto.

{Side Note} That was one of the most awkward 5 minutes on television.  In the middle of an 8 course meal, Wolfgang told Jyll verbatim, "This is not really a risotto.  Can I come show you how to make a risotto?  Come with me, in the kitchen.  It has to be liquid, and it has to be on a hot plate."  He then proceeded to walk her into the kitchen and cook a plate of risotto for her.  To make matters worse, when they finally returned to the table (plate of risotto in hand), he sets it on the table and says something to the effect of, look at the beautiful risotto Jyll made.  It was mortifying.  I was cringing the entire time.

{Back to Risotto} Risotto is typically made with arborio rice, although I've seen recipes call for other types.  In case you were wondering, no you cannot use the plain 'ole white rice you have in the pantry.  Arborio rice works because it has high starch levels.  When cooked slowly in the broth, arborio rice will absorb the liquid and release starch.  This results in a ultra rich and creamy end product.

The only tricky part is making sure the broth is heated warm enough and to know when to stop adding the broth.  The broth should be at a very slow simmer.  The first time I made risotto it literally took me well over an hour because my broth wasn't warm enough.  You want the rice to still have a slight bite to it, al dente like.  Once the rice is close to finished, add the liquid in smaller quantities to ensure you don't overcook it.

There are countless variations of risotto, but for this version we'll be making an asparagus and almond risotto.

Asparagus and Almond Risotto
A Summer Original
Ingredients:

  • 1 1/2 cups arborio rice
  • 5 cups chicken stock, heated in a separate pot to a low simmer.  You may not use all of it.
  • 1 bunch of asparagus, trimmed to 1/2" and the tops trimmed to 1 1/2"
  • 1 tbsp butter
  • 2 tbsp olive oil
  • 1 cup slivered almonds
  • 1/2 cup Parmesan cheese
  • 1 lemon
  • 2 tbsp fresh thyme
  • 1 small white onion, chopped into a medium dice


Instructions:

  • Heat your stock in a separate pan to a low and steady simmer.  In another, large sauce pan, heat the olive oil and butter on medium heat.  Once melted, add the onions and cook until translucent.  You just want to sweat them a little, not caramelize them.
This what your risotto setup should look like.

  • In a large skillet heat several cups of water and a dash of salt.  Once boiling, toss in the asparagus pieces.  Do not overcook them.  You only want to parboil the asparagus to the point they're becoming tender.  They will finish cooking in the finished risotto, and virtually nothing tastes worse than overcooked asparagus.  Once parboiled, dunk the asparagus in a bowl of ice water and allow to cool.  Then dry on paper towels.
  • Wipe out the skillet and toast the almonds until golden brown and nutty.

  • Once the onion is translucent, add the arborio rice to the saucepan.  Cook it for several minutes, until the rice has absorbed the remaining oil/butter add around 1/2 cup of the broth.  Stir until the broth has been absorbed.  Continue adding broth little by little until the rice is al dente and creamy.  As you add the broth, the risotto will begin to plump up and become very creamy.  Also, you must stir the entire time.  {I usually sit on my counter to do the stirring.}
The following pictures depict progression of adding the broth.


  • Once the rice is al dente, add the zest of 1 lemon, the chopped asparagus pieces, and the thyme.  Stir until combined and remove from the heat.  The residual heat from the rice will continue to cook the asparagus.


  • To serve, sprinkle the toasted almonds on top of the risotto and drizzle the juice of 1/2 a lemon around the sides.


Start to finish, the entire meal took me 35 minutes.  Not bad for a Monday night.

In other news, this week marks the beginning of OCI, aka On Campus Interviews.  It's basically the law school clerkship battlefield.  I have a whole slew of things to do before the bidding process so posting may be a bit hit or miss this week.  I did happen to make law review(!), so that should keep me in good spirits...until I actually have to start cite checking.  :)

Friday, July 15, 2011

The Parts You Don't See

I made ribs for dinner last night.  I was on my rib A game.  I came home during lunch to put the rub on the ribs so they'd have plenty of time to absorb it.  I was diligent with the meat thermometer, cooking them to the perfect medium rare temperature.  Everything seemed to be going great.  Then I tasted the rub {which was applied thick enough to be a legitimate crust}.  Sometime was wrong.  The mixture was entirely too salty.  Initially I thought that I'd tasted a part that just happened to have too much salt.  With horror dawning, I realized the entire rub was like a giant salt lick.  I raced through all of the ingredients in the rub, and realized...I'd completely left out the sugar.  My perfect ribs were basically coated in 1/4 a cup of salt and some seasonings.  At that point there really isn't much you can to salvage them.  I scraped off as much of the mess as I could and wiped them down with a damp cloth, but the damage was done.  They had absorbed too much of the salt fest.  They were palatable with a {generous} dosing of homemade barbeque sauce, but otherwise were almost inedible.

My early cooking days with my younger cousin, who has always been like a sister to me.
The situation was a reminder to me that everyone, at some point in time, screws something up royally.  In blog land and on Pinterest {specifically}, it's easy to see all of these beautiful projects, pictures, food presentations, clothing ensembles, etc. and judge yourself by those standards.  When I first started using Pinterest, it zapped my creativity.  I felt so untalented and pedantic compared to all of those beautiful pictures.  What I didn't think about was how many "salty ribs" the authors had gone through before they finally got it right.

Stump project...currently waiting on a chainsaw to finish
I post craft projects frequently, and I often detail the steps.  What I generally don't mention are the crying breakdowns, the complete do-overs, the "I'm never going to finish this effing project" thoughts  I experience all the time.  And that's a pity.  A friend of mine once remarked to me that he read all of my blogs postings, but would never try any of them.  He was convinced he'd already failed.  But, for as many successful projects I post, there are dozens of other flops.

Half sanded in my office since March 2011.  Determined to get it up before school starts.
Creativity doesn't always pan out.  Sometimes you end up with a huge pile of useless wood veneer and a sad attempt at a lampshade (me).  Sometimes you're going to end up with the best thing you've ever created.  You're going to have to accept the failures to realize the successes.

The bane of my existence.  Still working on plans to get this damn thing to work.
I have an intense fear of failure regarding most things in life.  I've never actually played baseball/t-ball because even as a small child I was paralyzed with fear about not hitting the ball.  As an adult, I've realized this shortcoming and am working really hard at being ok with just trying something.  It's not easy for a perfectionist, but I don't want to leave this earth having been too scared to try.

Nothing really is going wrong with this painting, other than it's take a ludicrously long time to finish...considering it's smaller than a sheet of paper.

So go make mistakes.  Screw up projects.  Pile them behind your big ugly chair.  You never know when you're going to create a masterpiece.

Thursday, July 14, 2011

Happy Harry Potter and Bastille Day!

I feel like today could not be more "me" than if I had created itself.  Today is Bastille Day, French Independence Day.  I love France and any excuse to partake in anything "French."  I'm headed to Bastille on Bishop later this evening to partake in some mussels (although I probably shouldn't because I'm allergic to them), wine, petanque, and all around French fun.  The Bishop Arts District in Dallas is one of my favorite place all around.  It's a little reminiscent of Austin, and by that I mean a little funky, a little "home grown" and definitely dedicated to all things local.

bastille2.jpg


And after that,  I'm head to snag a seat for....(drum roll, please) the last Harry Potter movie!!  I've been a huge Harry Potter fan since middle school.  I can actually remember the day I read the first book.  My mom checked it out from the library in hopes that my brother would read it.  I happened to be sick and picked it up out of boredom.  From that moment on I was hooked.  Since middle school, I've been reading, watching, or waiting on Harry Potter.  It's a little bittersweet to see it go.  I'll definitely probably cry the entire movie.  We're also going to watch it at the IMAX in 3d so, it honestly could not have a better ending for me.

To celebrate Harry Potter, I'm whipping up some butterbeer before the movie.  For those not in the know, butterbeer is a common beverage consumed in the wizarding world.  I've always wondered what it tasted like, and then I happened to stumble across a recipe one day.  The awesome blog, Cook Like a Champion, recreated a version and it's supposed to be spot on.

Honestly, how delicious does this look?!

5179647282.jpg
Photo from Cook Like a Champion Blog.


You can find the recipe here.  Awesome news is that it only requires 3 ingredients.

*Note- the drink can be made non-alcoholic by substituting the butterscotch schnapps for butterscotch syrup.

Happy Harry Potter and Bastille Day!!

Wednesday, July 13, 2011

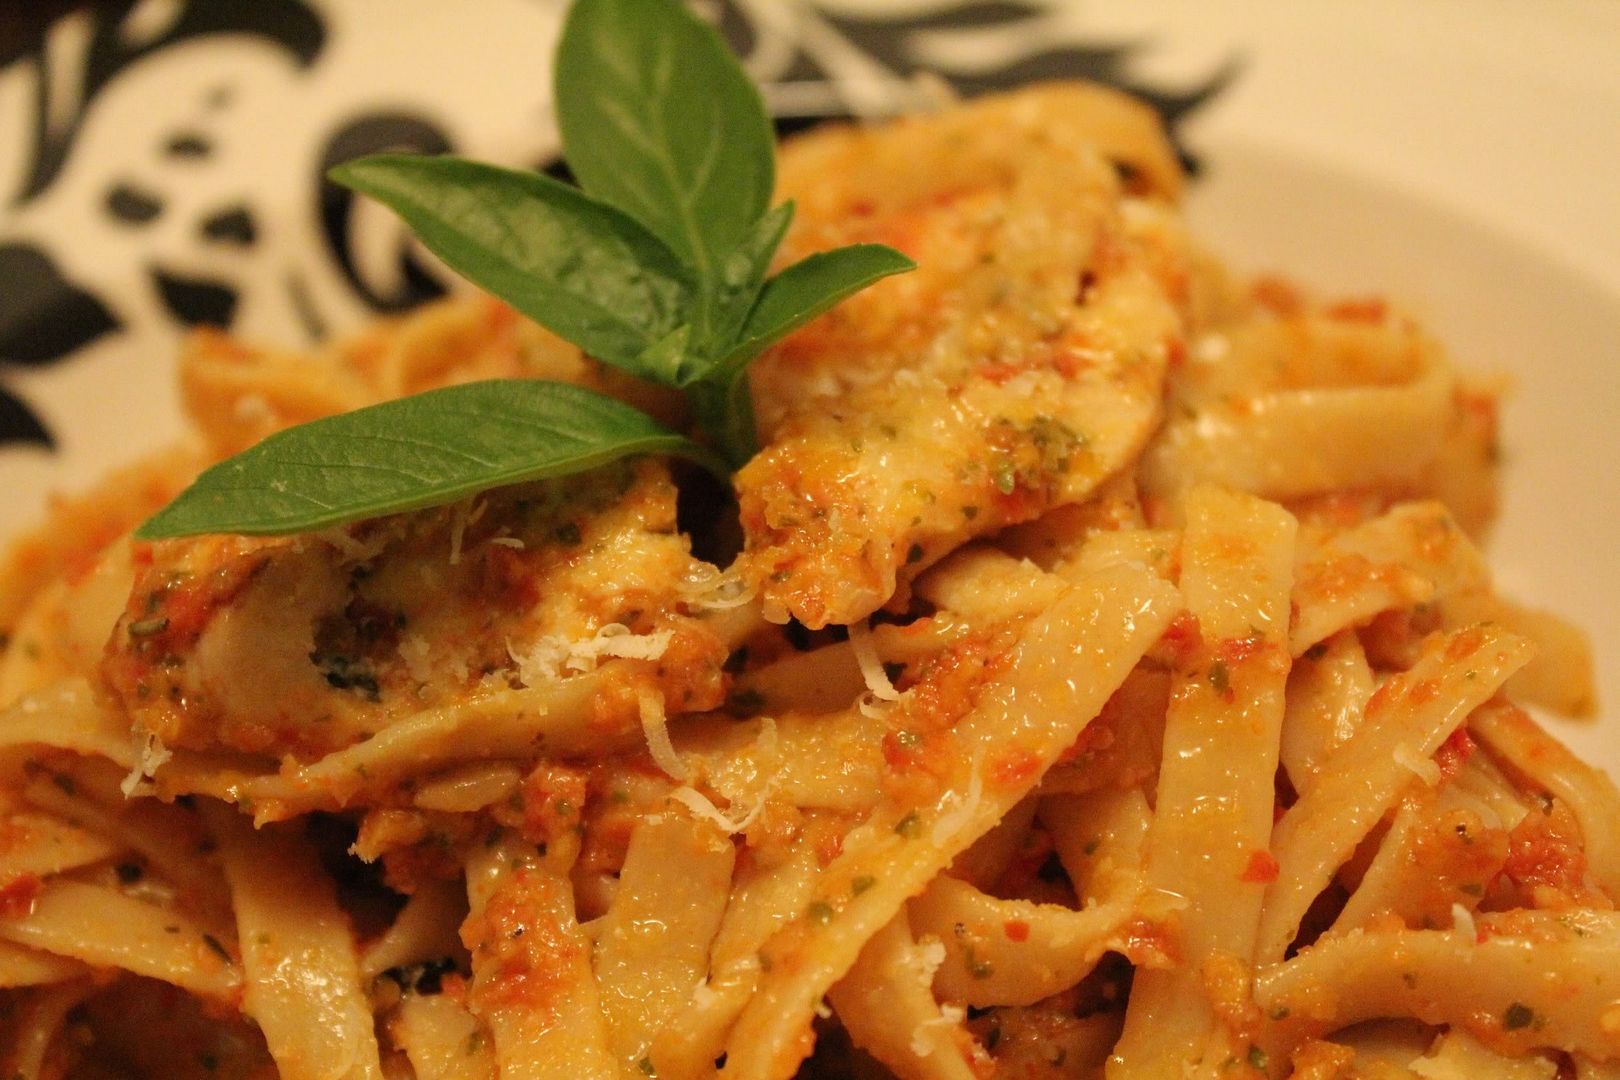
Weekday Meals: Red Pistou Pasta with Herbs de Provence Crumbs

Sorry for not posting this yesterday.  My day ended up a little busier than I expected.  I didn't even get in bed until midnight. 

This is one of those meals that just screams summertime.  It's bursting with bright flavors: sun dried tomatoes, fresh basil, and a little lemon juice.  It's quick and easy so it won't have you slaving over a stove for half the night.  It's easily paired with any protein.  Sometimes I use shrimp and sometimes I use chicken.  It's delicious either way.  The thing that pushes this meal over the top are the breadcrumbs.  They are so delicious.  They're so easy to make and I always have some on hand (stored in the freezer).  They're also a great way to get rid of stale bread, which for some reason, I have always seem to have lying around.


So what is pistou?  It's basically pesto without the nuts.  The two main varieties are basil (green) and tomato (red).  This was my first encounter with the red variety, and it definitely gives the standard green version a run for it's money. I dare say it's even better.

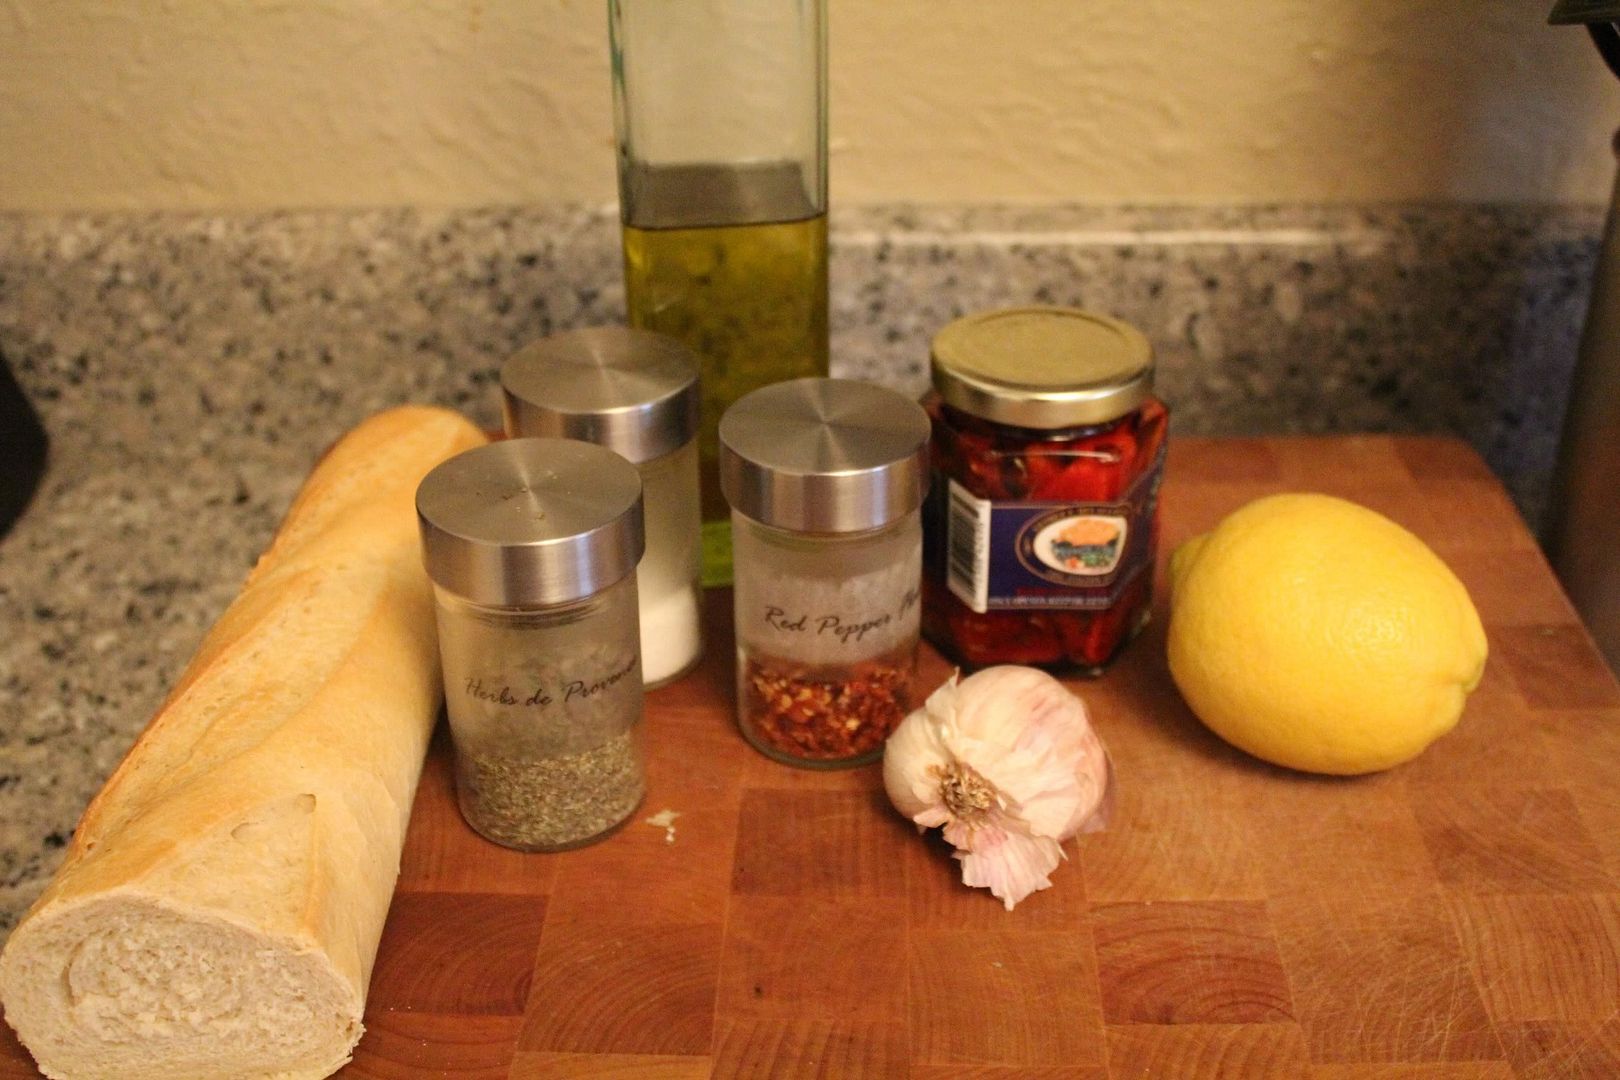
I served the meal al fresco with a fresh baguette, some flavored olive oil, a bottle of wine, and a jar of lemon agua fresca.  Those simple additions elevated a normal dinner to something special and intimate.  We sat on our patio enjoying the sunset and chatted about anything and nothing.  It's a simple reminder that with just a little attention everyday moments can become something memorable.


Red Pasta Pistou with Herbs de Provence Crumbs

Ingredients:
  • 1 lb pasta (I used fettuccine)
  • 1 jar of sun dried tomatoes and the olive oil
  • 1 1/2 cups basil leaves
  • 1-2 cloves of garlic
  • 1/2 tsp sugar
  • zest and juice of 1 lemon
  • 1/4 cup Parmesan cheese
  • Salt and Pepper to taste
  • Protein (if desired, cook however you want it)
For the bread crumbs:
  • an old baguette, pulsed into crumbs by a food processor
  • 2-4 tbsp of olive oil
  • 1 tbsp Herbs de Provence
  • 1/4 cup Parmesan cheese
*Herbs de Provence is a mixture of dried herbs commonly used in Provence.  Mine are lucky enough to actually be from Provence (awesome burlap bag included), but the mixture can be purchased at many groceries stores in the spice section.  You really must use the Herbs to Provence for the crumbs.  They make the crumbs heavenly.


Instructions:
  • Bring a salted pot of water to boil and cook the pasta until al dente.
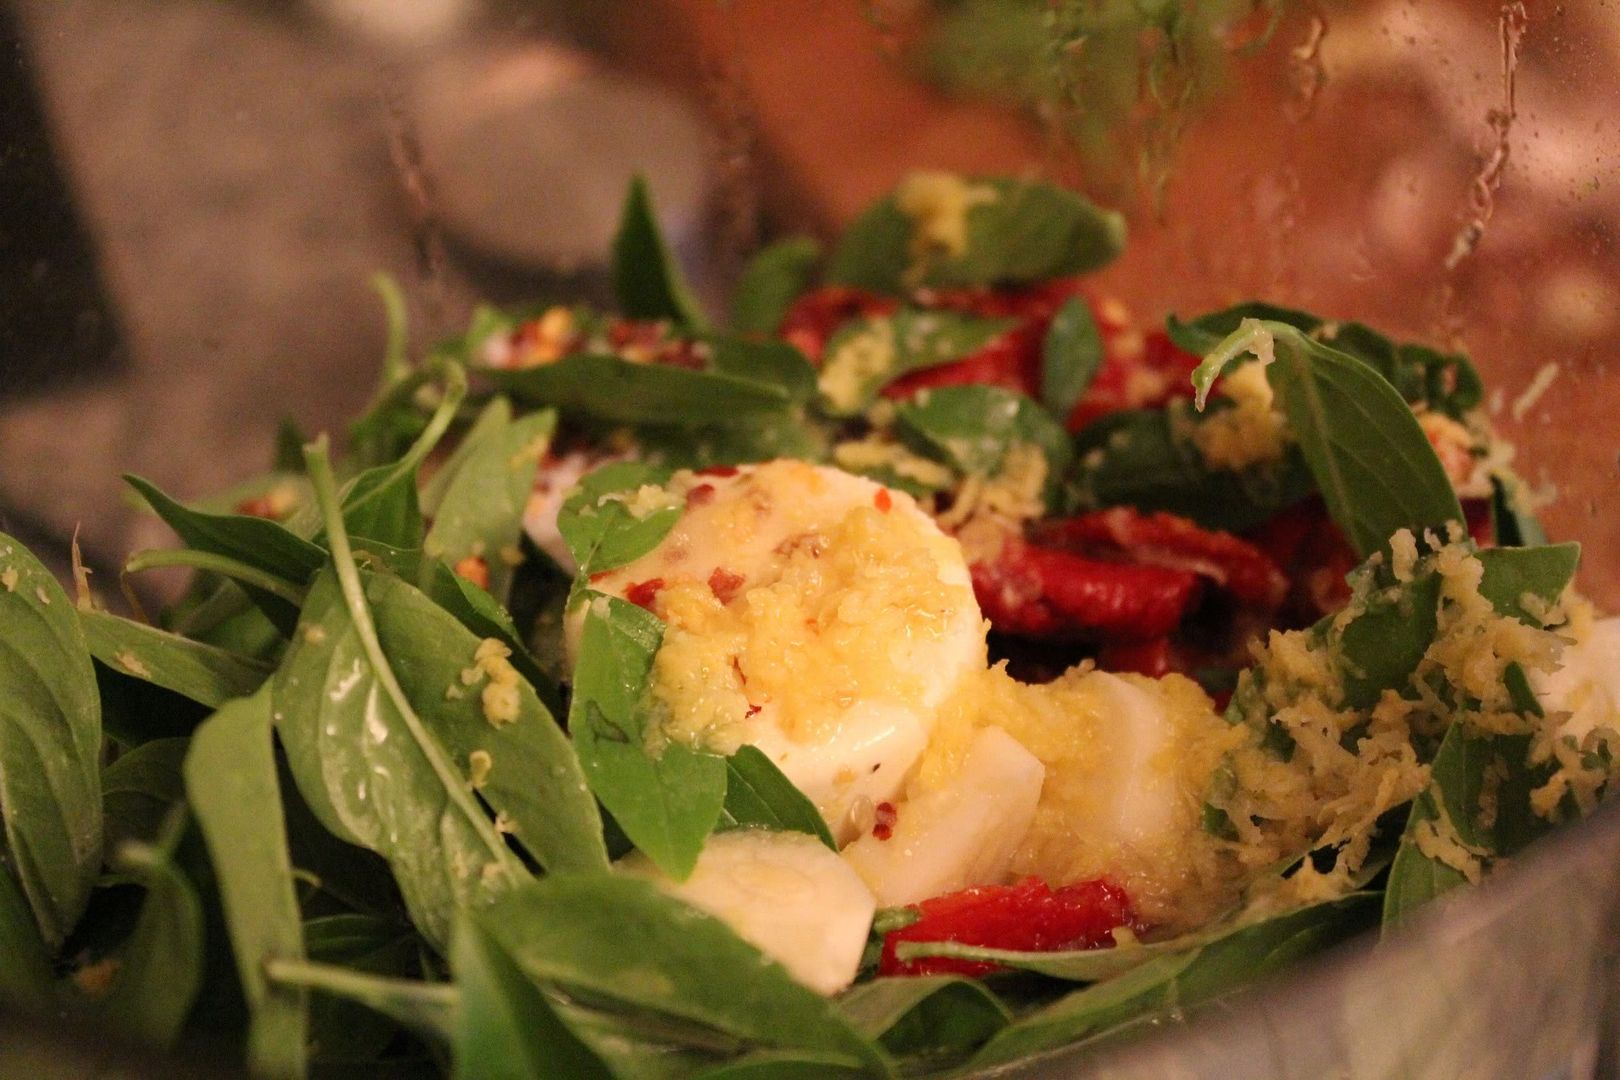
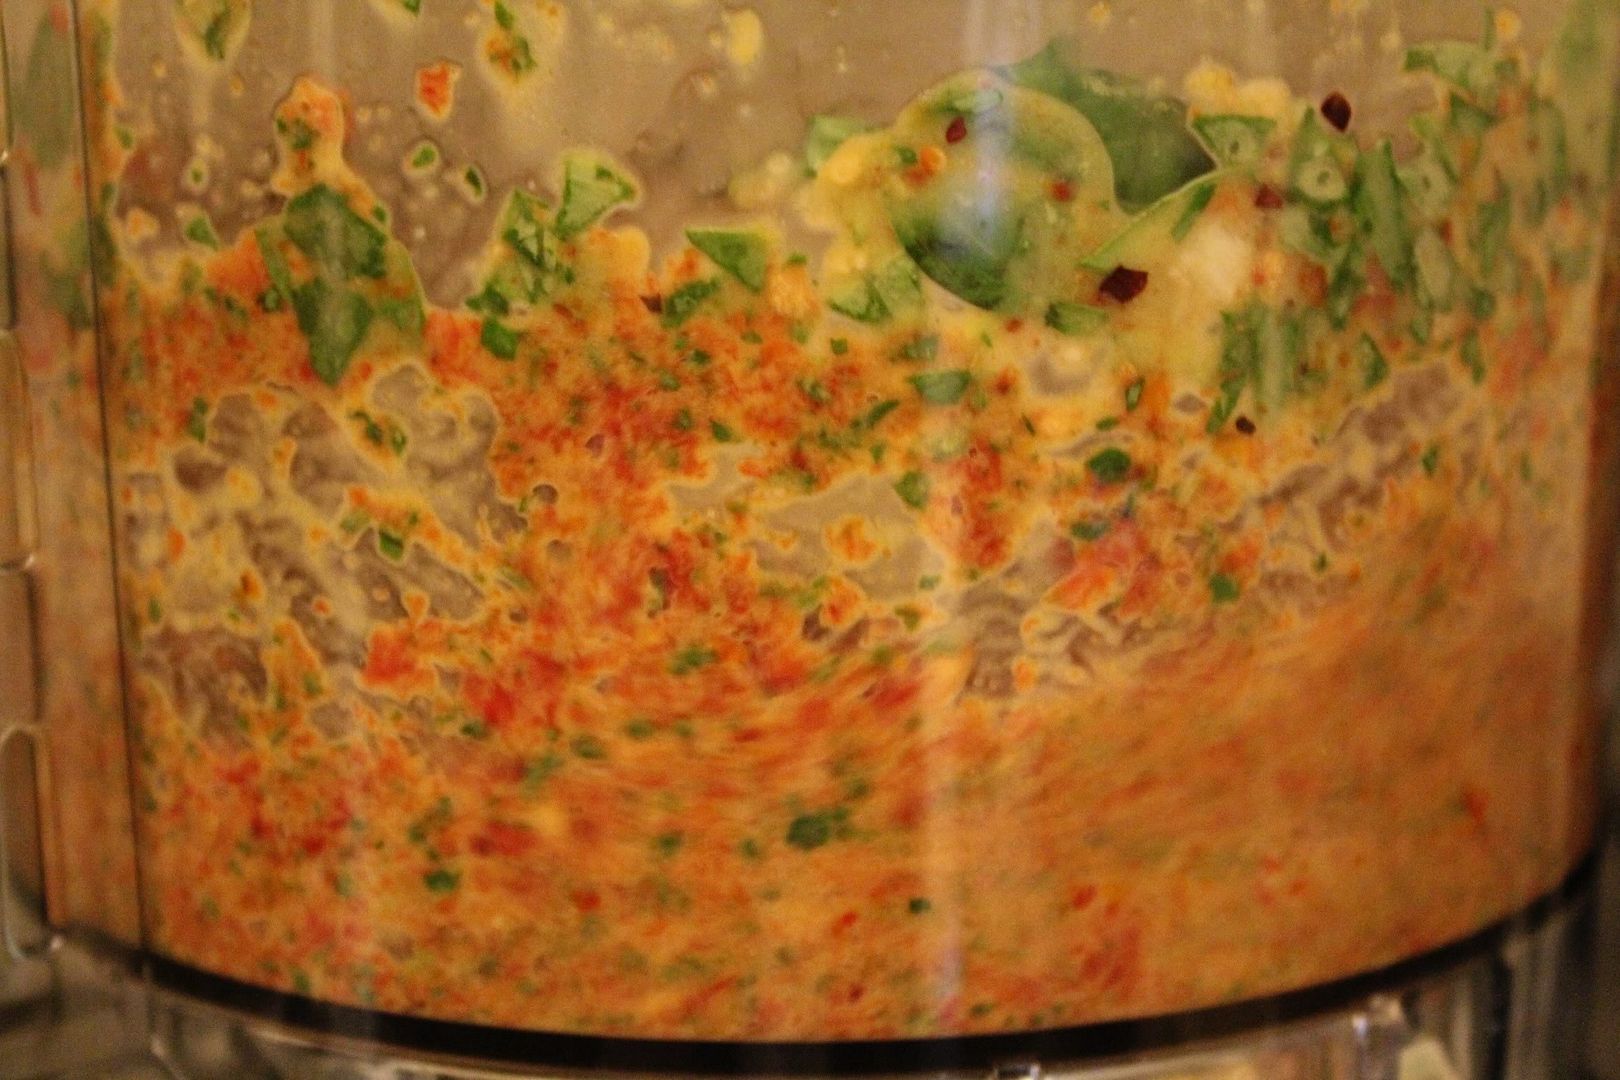
  • Add the remaining ingredients in the bowl of a food processor and blend until smooth.  It should have the texture and consistency of a regular pesto.  Add additional olive oil if not smooth enough.

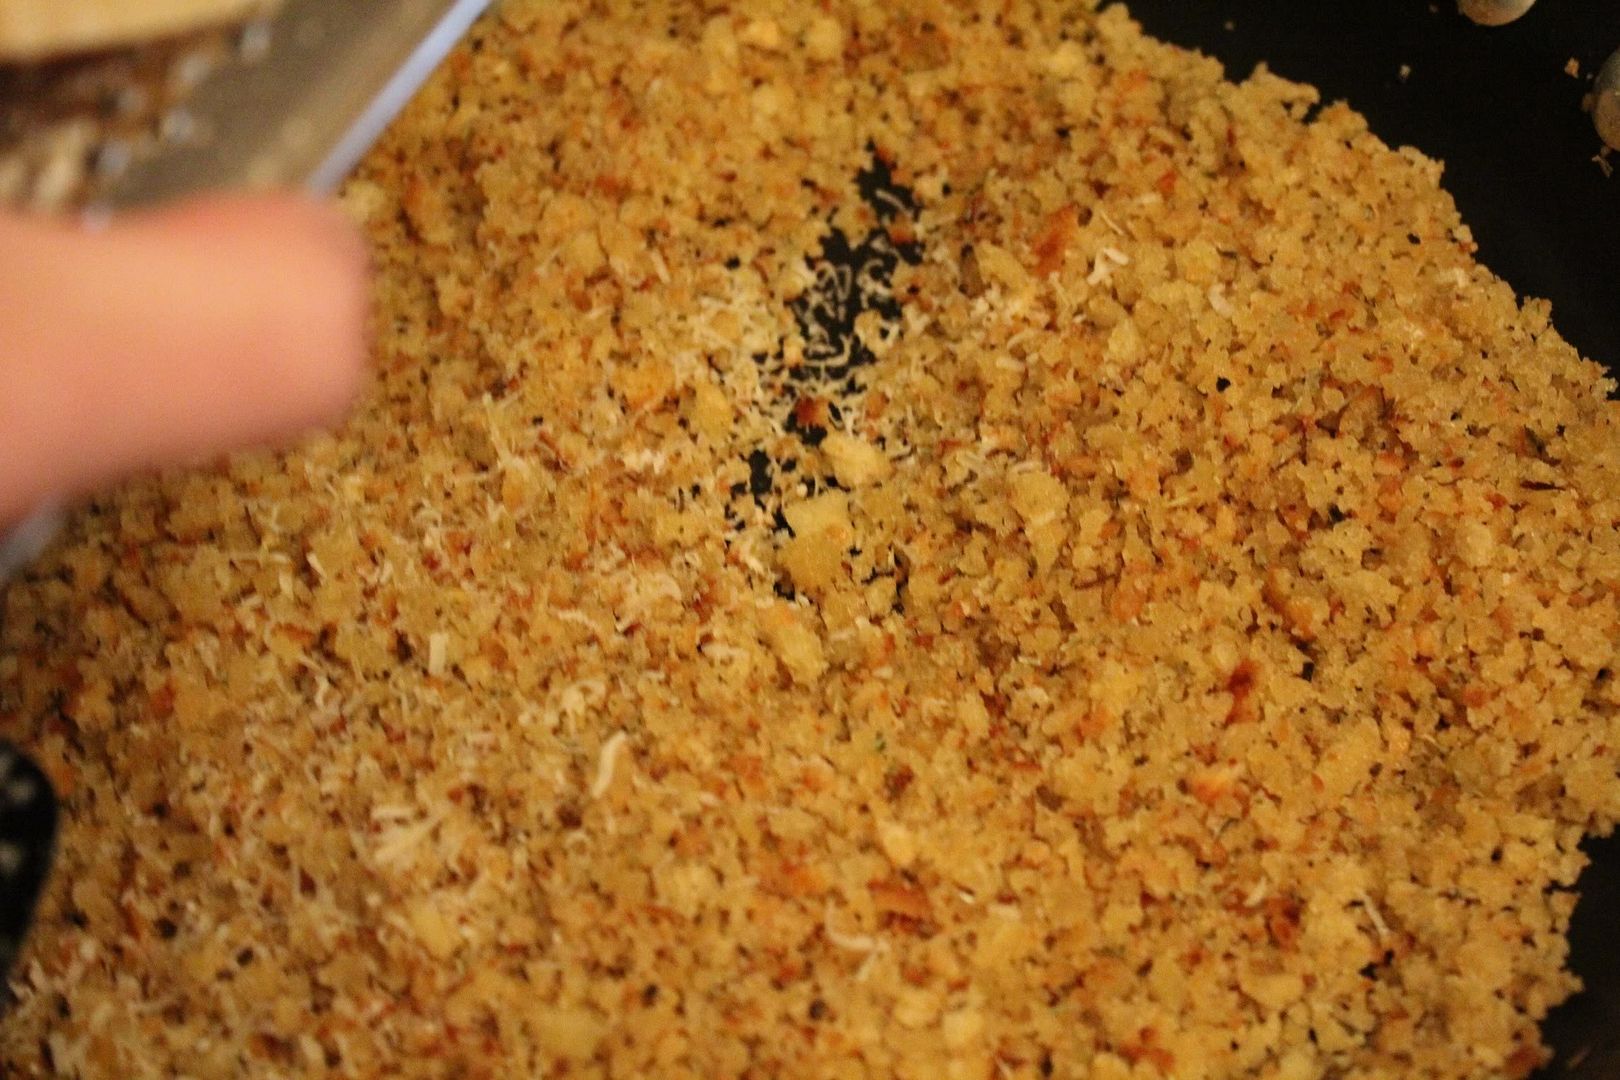
  • Heat the olive oil in a nonstick skillet over medium high heat.  Add the crumbs and the Herbs de Provence and cook until dry and toasted.  The crumbs should be golden brown and very fragrant.  Sprinkle the Parmesan on top when browned.
  • Toss the pasta with the pistou and sprinkle the crumbs on top.

In the words of my favorite French chef, Bon Appetit!

Monday, July 11, 2011

Weekend Wrap Up

Hello hello! I hope everyone had a lovely weekend.  Mine was exhausting but great.  We took my little cousin all over Dallas- literally.  Here are some of my favorite pictures from the weekend.

The boys riding around Dallas, while I chased after them with my camera.

Operated since 1912.  It's such a nostalgic blast from the past.  We enjoyed a lunch of gooey grilled cheese and terrific shakes.  There's just something so fantastic about a frosty shake on a blistering hot day.


The Uptown Trolleys are 100 year old trolleys that run from the Uptown area in Dallas all the way Downtown.  They're completely free, and so much fun.  This was our first time on them, and it certainly won't be our last.


We spent the afternoon at the Dallas World Aquarium, although the term "aquarium" is a bit of a misnomer.  It's more like a small zoo.  You start at the top of a rainforest like building and wind your way down to the aquariums.  


We wrapped up Saturday with a play at Pocket Sandwich Theatre.  I honestly cannot say enough good things about this place.  They frequently show melodramas and encourage patrons to chunk popcorn at the bad guys (and other patrons).  It's a great place to take a group of friends or an active kid.  He had such a good time.  This series of pictures is my favorite.  I took a couple dozen of him and J goofing around with the popcorn.

Hope you enjoyed these! And come back tomorrow, I'll be posting one of my all time favorite dinner recipes!

Friday, July 8, 2011

Hello lovelies!   I'm fairly excited about this weekend!  My little cousin (age 8) is coming to stay with us, which means a house full of boys!  We have a bunch of funtivities (as Jason calls them) lined up.  It's our first time to have any of our kid relatives over by themselves, so we'll see how it goes.  If this works out, I may work up the nerve to have my 3 year old niece visit.  True story- I'm afraid of babies.  They just seem so fragile, and I'm terrified I'll drop them or hurt them.  So up until this year, I've been kind of timid around Hope.  However, now that she can speak, hold her head up, and act like a small human we're pretty good friends.  :)

"Princess Hair" courtesy of my niece.  She didn't really understand that curly hair isn't supposed to be brushed.  :)
I really do love her.  She's about as precocious and bossy as I was as a kid, and I probably deserve being on the other end of it.

One of the things about law school that kind of makes me sad is how much it slows down the life process.  So many of my friends are getting married, starting families, and here I am spending Friday nights holed up in my office with a book.  Don't get me wrong; I love my life and the course it's on, but when most of my friend's Facebook pictures are babies and kids it's easy to get a little jealous.  At least I have young relatives to borrow until I've decided to actually "grow up."

And to end things on a high note: here is one of my favorite YouTube videos.  I'm sure you've all gathered by now that I'm pretty much a food snob, although I prefer the term foodie.  I'm very ridiculous particular about where I will and will not buy groceries.  Admitting is the first step to recovery, right?  Until then, at least I can laugh at myself.


Happy Friday all!
And to Miss Abby, I'm working on the card tutorial!  It should be finished soon!  And thanks again for the notebook.  I love it!

Wednesday, July 6, 2011

Sew Something: 15 Minute Headband

I noticed lately that I haven't really posted any DIYs.  This is pretty crazy to me, since I've been steadily busy crafting all summer break.  Problem is, I haven't actually finished any of those projects.  I have an alarming number of unfinished projects stacking up.  So much so that I've actually dubbed the area behind the 'big ugly chair' as the place where projects go to die.  And speaking of the 'big ugly chair', I'm currently working on its overhaul so hopefully it'll make its debut sometime soon.  And by soon, I mean this weekend, because my little cousin is staying with us this weekend, and I'd rather not have to deal with that mess and an 8 year old at the same time.


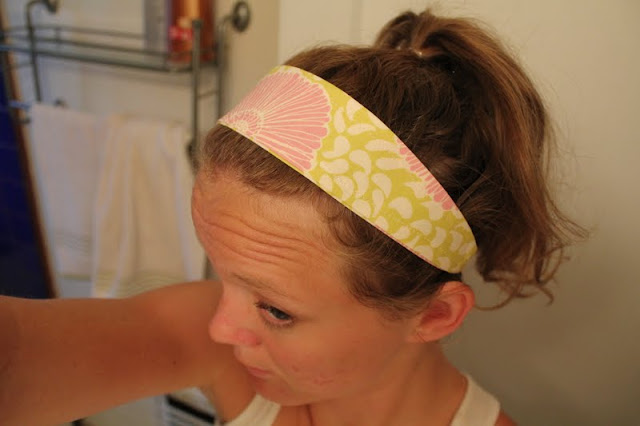
Sometimes it's so nice to complete something so quickly.  These adorable headbands are just the ticket- cute and an almost instant "I made it" satisfaction.  I originally saw the headband on Pinterest, which I am officially addicted to.  Majorly addicted.  I used a combination of two different blogs to create them.  I followed the instructions from Biscuits and Jam and used the pattern from The Long Thread, although I used the child size instead of the adult size.  I could tell from the printout that it was way to big for my head.  The child size ended up fitting me perfectly.  So I guess I have an abnormally small head(?), although I'm pretty sure some people would argue just the opposite.  :)

These little head bands are going to be perfect for yoga and any other summer activity.  Ready to make one?

Materials:

  • Fabric scraps- you'll only need 2 ovals measuring about 12" x 2 1/2", so it's a great way to use scraps.
  • a 10" piece of elastic
  • Basic sewing equipment
Instructions:
  • Cut out 2 of the pattern pieces
  • Iron one end of each oval up, about 1/4 of an inch
  • Make a sandwich with your pattern pieces, laying the elastic in the middle.  I pinned the elastic to one of the fabric pieces to keep it from getting caught while sewing the edges.  Pin around the edges.


  • Sew!  Start from one of the folded pieces and sew all the way around using a 1/4" seam.  Stop at the end of the folded piece, but don't sew across it.  You need an opening to turn the headband right side to.  You'll also need to backstitch at the beginning and the end.
  • Turn the headband right side to, remove the pins, iron flat.  

  • One side of the elastic will be sewed down and the other end will be loose.  Tuck the loose end into the opening about 1/2" and pin down.  {My headband is actually a little looser than I'd have liked, so I recommend trying it on first, which I didn't. *Update: while waiting for the photos to upload, I folded over some of the extra elastic and sewed it to the back of the headband.  Yes, I am that ADD.  Fits much better now.}

  • Top stictch around the entire headband using a 1/4" allowance.  I backstitched over the elastic part a couple of times to keep it firmly secured.

Action shot- trying to see if I could shake it off my head.  

Voila, new headband!  Enjoy! :)