Showing posts with label dessert. Show all posts

Monday, December 23, 2013

Cook Something: Spiked Hot Chocolate and Homemade Churros

For a perfectly cozy evening or a late night Christmas treat, I highly recommend some steamy hot chocolate and homemade churros.I made these a couple Fridays ago on a particularly dreary and frigid night and they were the perfect way to spend the evening.


The churro batter is very similar to a French pate a choux, albeit thicker.  Making churros is a lot less intimating than it sounds, but a couple words of advice. Watch the temperature of your oil.  If your oil gets too hot your churros will burn before cooking on the inside.  If the oil is too cool, your churros will be greasy.  Use a thermometer and keep your oil as close to 350 as you can.  Secondly, invest the $8 in a pastry bag.  Most recipes will say you can use a gallon bag with the corner snipped off.  This. Is. A. Lie.  This batter is thick.  If you try to squeeze it out of a gallon bag the bag will split open and you're going to end up with a huge mess all over your counter.  I bought my pastry bag at Michael's of all places, but you can find them at any kitchen wares store and possibly Walmart (if your Walmart has a cake decorating section).


For the hot chocolate, I used this recipe and to be honest I didn't love it, especially because it required a decent amount of work.  Whatever hot chocolate you decide to use make sure it's super thick and decadent.


Churros
Adapted from here.
Ingredients:

  • 8 cups vegetable oil or other frying oil
  • 1 cup sugar and 1 tablespoon ground cinnamon.  Mix together in a gallon size ziploc bag and set aside
  • 1 tablespoon sugar
  • 2 cups milk, at room temperature*
  • 4 tablespoons unsalted butter, cut into cubes
  • 1 tsp salt
  • 1 stick cinnamon
  • 2 tsp ground nutmeg
  • 2 cups all purpose flour
  • 3 large eggs, at room temperature*
*To bring to room temperature quickly, microwave the milk in 30 second bursts.  Be careful the milk doesn't scald.  Place the eggs in a bowl of warm water for 5-10 minutes.

Instructions:
  • Add oil to a heavy bottomed pot and bring to 350 degrees.  I prefer using my LeCreuset dutch oven for frying.
  • Bring milk, butter, salt, remaining 1 tablespoon of sugar, cinnamon stick, vanilla, and nutmeg to boil on medium-high heat in a large saucepan.  Turn off heat once boiling and allow to stand for 10 minutes so the flavors infuse in the milk.
  • Discard the cinnamon stick.  Bring the mixture back up to a boil then add the flour and beat vigorously with a wooden spoon until a smooth dough forms.  This is going to take a bit of muscle.
  • Transfer dough to a large bowl and allow the mixture to cool for 5 minutes, stir periodically to help with the cooling.  Add eggs, one at a time, beating until fully incorporated before add the next egg.  
    • If you do this by hand there will be a moment when you think everything has gone terribly wrong.  The dough will somehow look curdled.  Fear not!  Just keeping beating and like magic the dough will transfer back to a homogenous mixture.
  • Insert a star tip into the pastry bag and add the dough into the pastry bag.  I like to use a chip clip to close the top of the bag to prevent any of the dough from squeezing out the back.
  • Pipe the dough into the hot oil in 4-6 inch long pieces.  Pinch the dough of with your fingers or snip with scissors.  Fry up to 6 churros at a time for 3-4 minutes until a beautiful golden brown.
  • Quickly roll the cooked churros on a paper towel and then toss in the bag filled with the cinnamon and sugar mixture.
Enjoy while warm!

Merriest of Christmases to those of you who celebrate!


Tuesday, November 26, 2013

Friendsgiving 2

This past weekend Jason and I hosted our 2nd Annual Friendsgiving.  If you remember from last year, we hosted the inaugural Friendsgiving outside, and I had every intention of doing so again this year.  Mother Nature, however, had very different plans.  It was cold in Texas this past weekend, very very cold, especially for Texas.  So Jason and I had no choice but to move Friendsgiving inside.  We are fortunate enough that by clearing every. last. piece of furniture out of our living room and dining room that we had just enough room to fit the 26 people who had RSVP'd for the event.  We were fairly concerned about space, and although it may have been a little snug, it was a perfectly cozy way to spend a very dreary and frigid night.

So without further ado, the details from Friendsgiving 2.

I was adamant about using real plates and silverware this year.  I picked up the plates from the Dollar Tree (for a $1 a piece, which is crazy because I actually like them more than my actual plates) and the silverware was leftover from my sister's graduation party.

Jason rented tables and chairs from our trusty rental place and I decorated each table with strands of bittersweet and white candles.


Each table setting had a mini-pumpkin pie thank you gift that I made (completely from scratch, crust and all, which is kind of big deal because I am certainly no baker).  Friendsgiving is a party that requires you to bring food, so I wanted to thank everyone for taking the time to make and attend the party and to thank all of the great friends we have in our life.  Thanksgiving so often gets overlooked and I particularly love this event, because it's simply a chance to say thank you to everyone who helps enrich our lives.

I downloaded the "thank you" calligraphy from here and sized it down in Photoshop to about 3"x2".


For beverages I made spiked apple cider and unsweet tea.  And everyone brought beer and wine to share.

Jason and I were fairly concerned about squeezing 26 people into our 1200 square foot apartment.  We knew in advance that the tables and chairs would fit, because we did the same thing for my graduation party, but that party maxed out around 20 people and we had a solid 6 more coming to Friendsgiving.


My idea to help work with traffic flow was to create a "photo booth" in this weird area that connects every room in our house, but isn't really a room itself.  It's kind of like a foyer, but smack dab in the middle.  I decided to set my camera up on a tripod and let people take pictures in front of a backdrop of streamers that I saved from my mother's fiesta party.  The lighting wasn't great in that room, and I'm working on fixing the white balance.


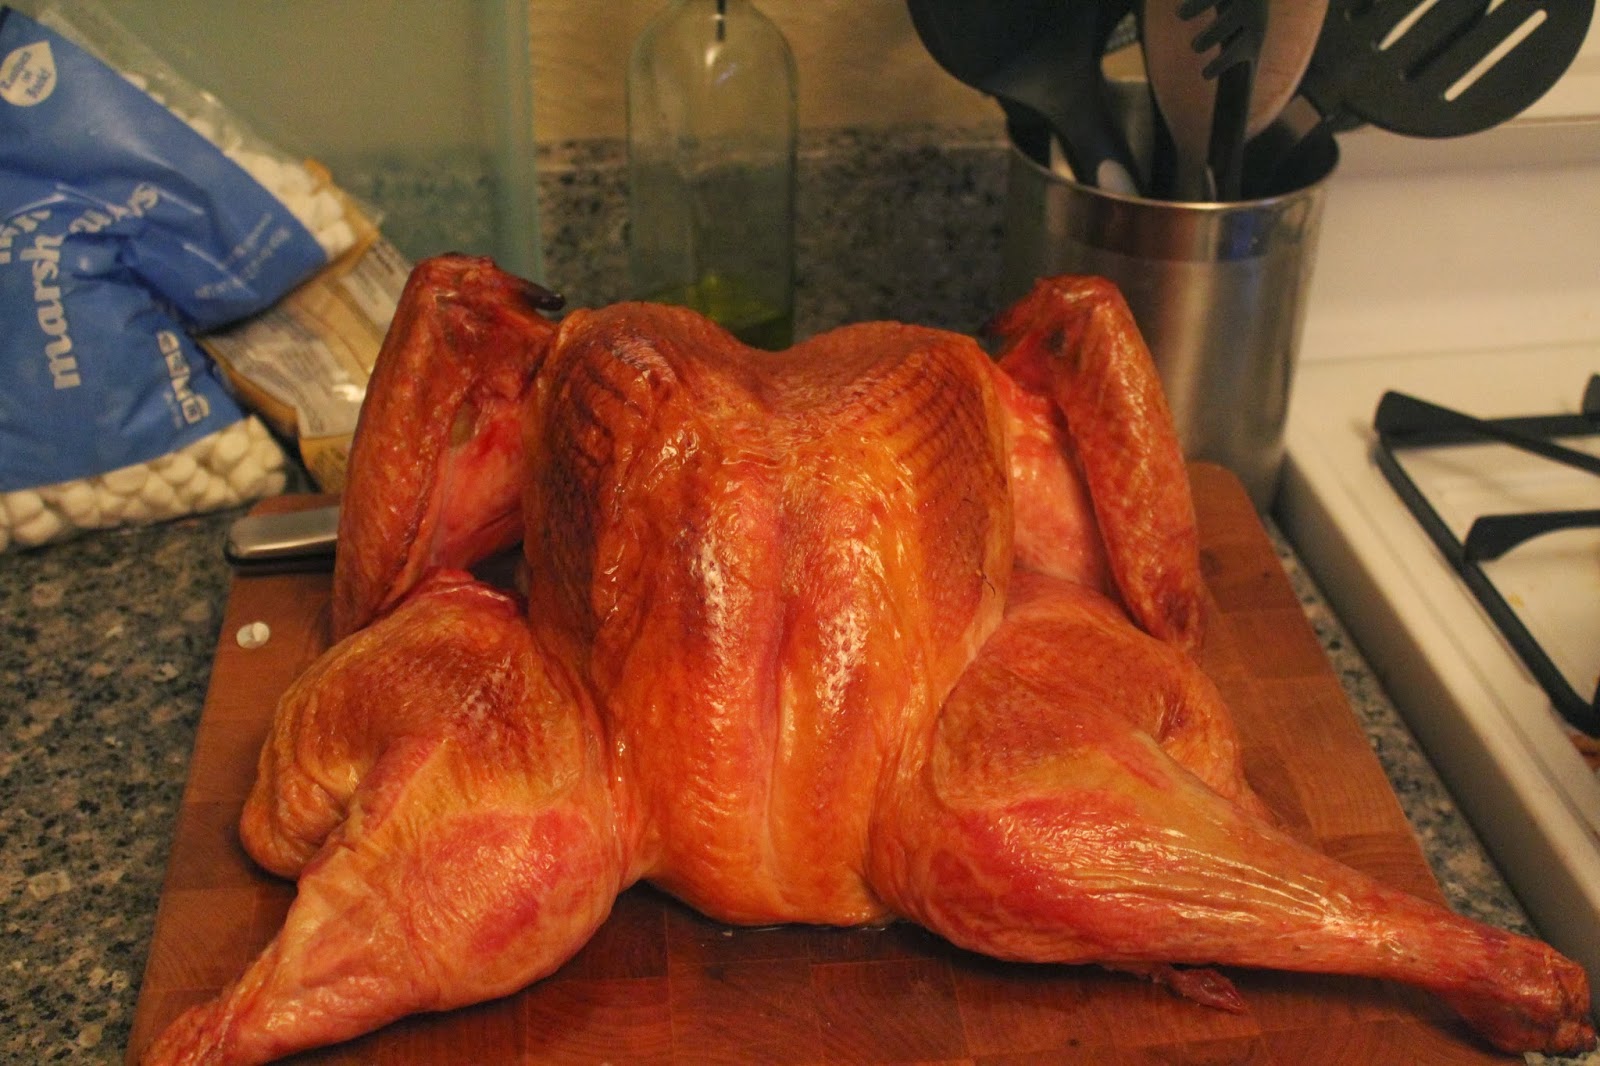
I spatchedcocked the turkey again, using Kenji's method.  This is my second year doing this and I firmly maintain it is the easiest, fastest, and most full proof method of cooking a turkey.

Me shaking "Bertha's" wing.  Yes, I named the turkey.

And this is what you get.  A house full of good food and better friends.  A pretty enjoyable way to spend an evening.

And me the next morning...thinking about how much clean up I had to do.
*Thanks to Tiffany and Keith for the awesome mug.*


I hope everyone has a safe and Happy Thanksgiving!  And a huge thanks to everyone who helped make Friendsgiving a success!

Thursday, July 21, 2011

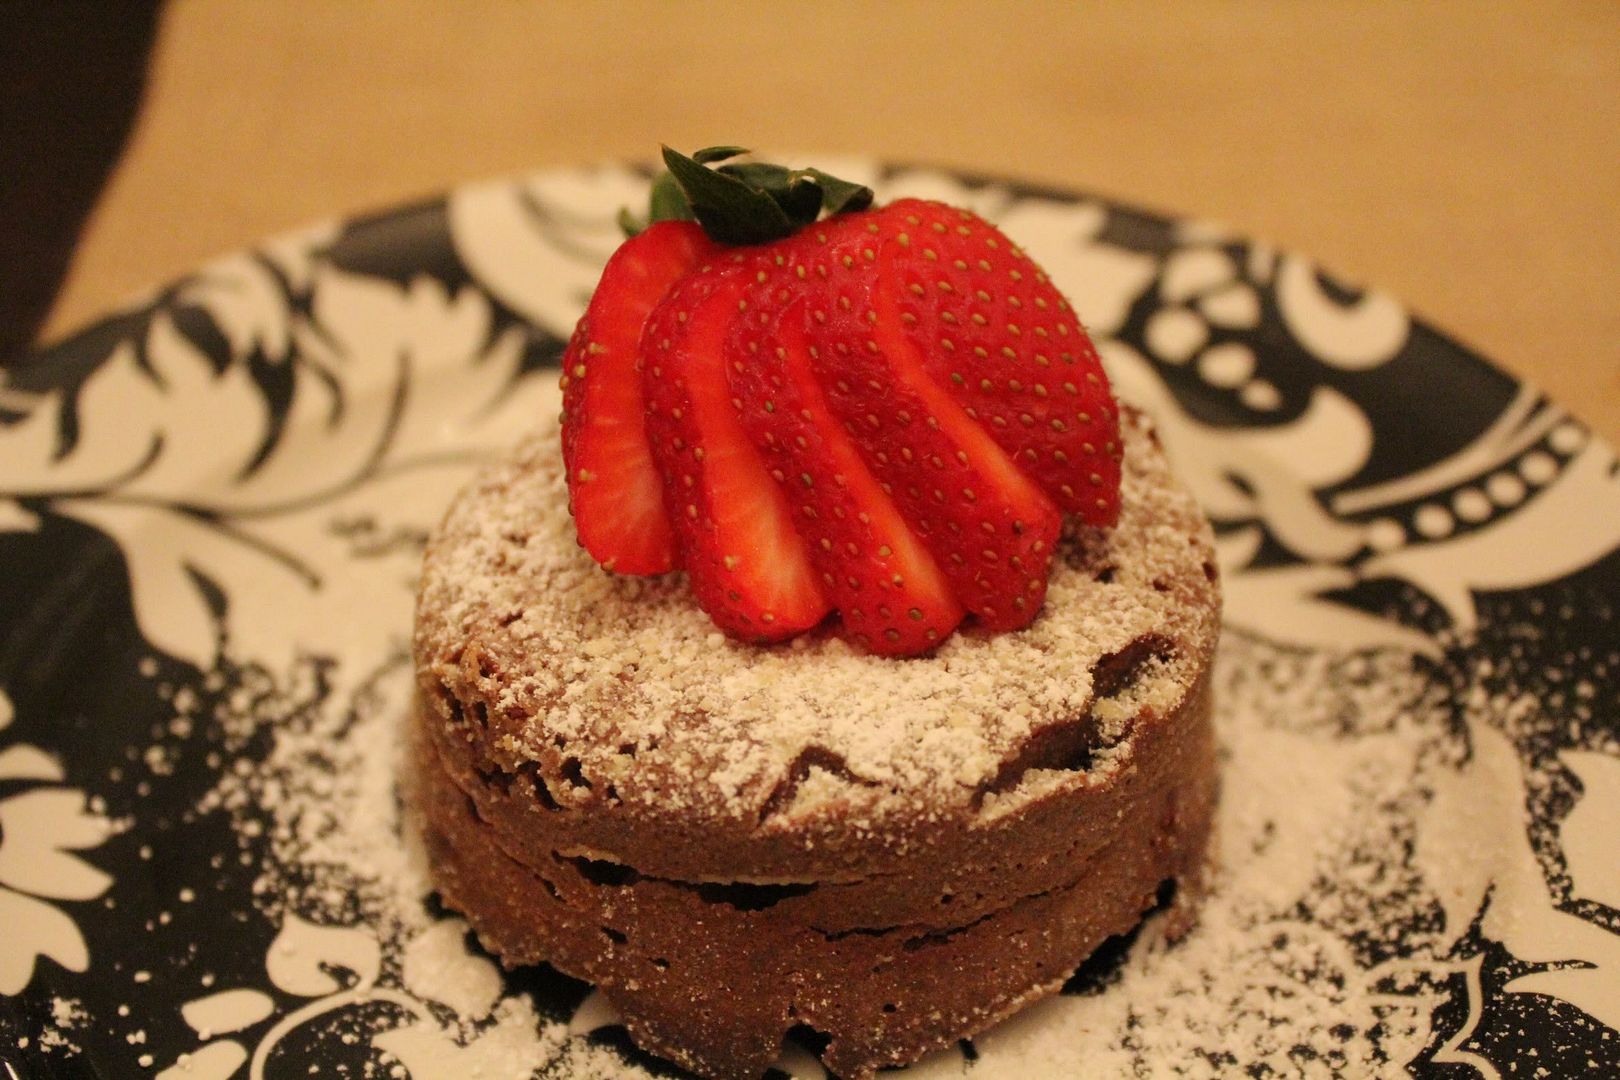
Cook Something: Molten Chocolate Cakes

Every once in a while, I'll get a craving for something sweet and chocolatey.  I'll admit, it normally happens after I see someone make a delicious dessert on a cooking show.  This is my problem with Iron Chef.  Every time I watch it I want to go cook something.  What can I say, I'm a strange duck.  I honestly can't remember what made me jump to molten chocolate cake.  It is one of my favorite desserts, but I don't know where I got the idea that I could make it.  Regardless after some quick searching, I found a recipe that looked incredibly simple and very delicious, and I was correct on both accounts.  The best part about this recipe is that it calls for basic pantry items.  The only thing I didn't have on hand was the dark chocolate, but I know some of you are bound to have some stashed in your house.  So after a quick trip to the store and a not so quick detour into Anthro (it's a wonderfully terrible combination that the grocery store closest to my house is also literally next to an Anthro.), I was in business.


Molten Chocolate Cake for 2
Adapted from Diner's Journal (I only made half of the original recipe, because I only  had 2 clean ramekins am master of restraint.)

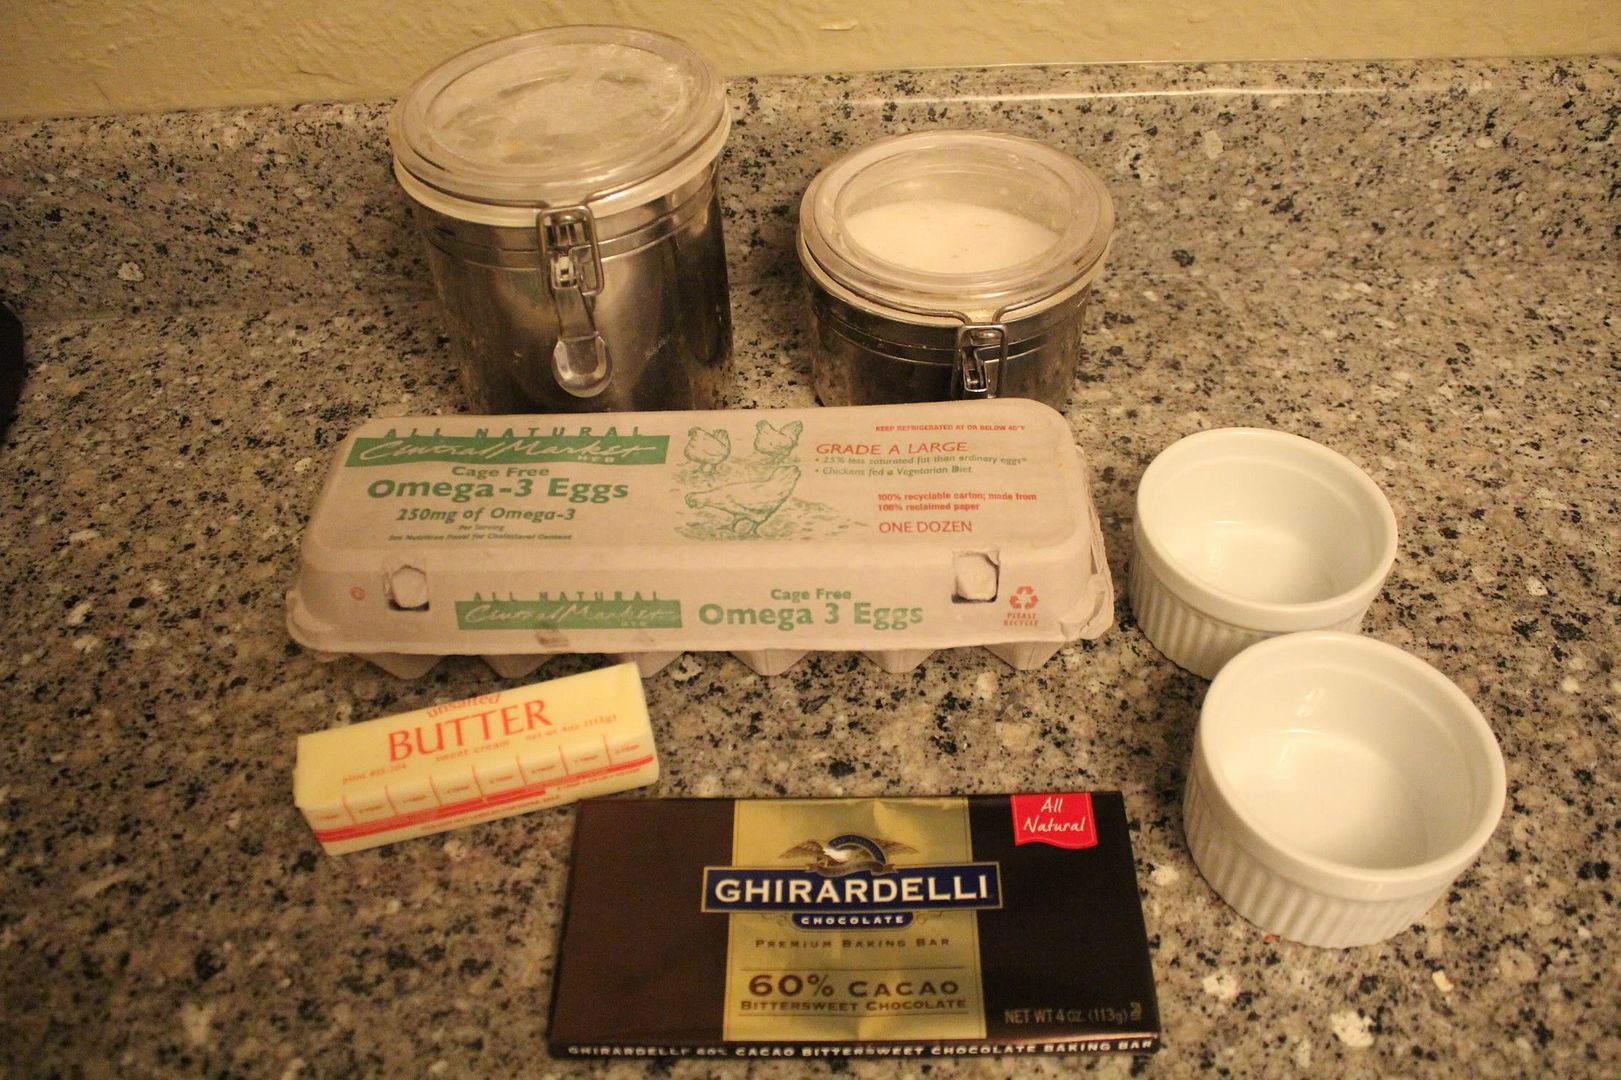
Ingredients:

  • 1/4 cup unsalter butter, plus more to butter the ramekins
  • 2 oz bittersweet chocolate, I used 60% cacao
  • 1 egg
  • 1 egg yolk (save the white and make this delicious sorbet)
  • 1/8 cup sugar
  • 1 tsp flour and more for dusting.  I originally planned and would recommend using cocoa powder to dust the ramekins so you don't have white powder on your cakes
  • Powdered sugar to top
  • 2 four-ounce ramekins

Instructions:
  • Preheat over to 450 degrees.
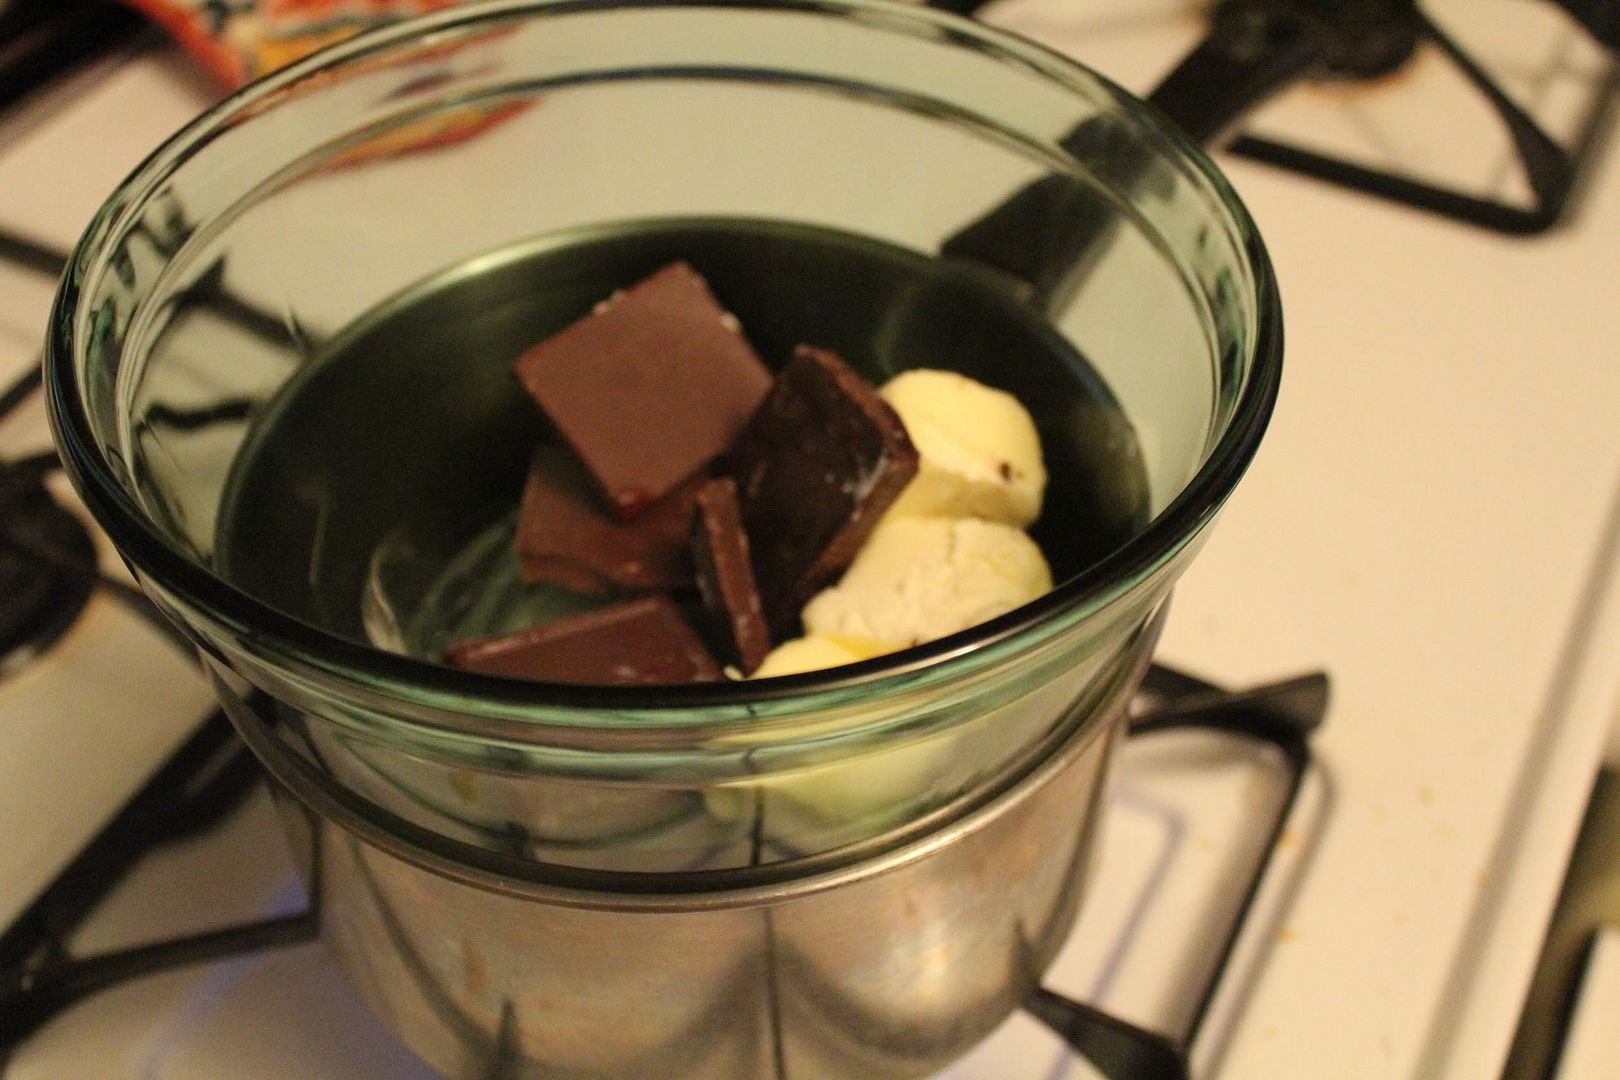
  • In a double boiler, heat the butter and the chocolate until the chocolate is completely melted.  Don't have a double boiler?  Me neither.  Simply stick a bowl on top of a pot; just make sure the bottom of the bowl is not in the water.  Otherwise the chocolate could get too hot and burn.

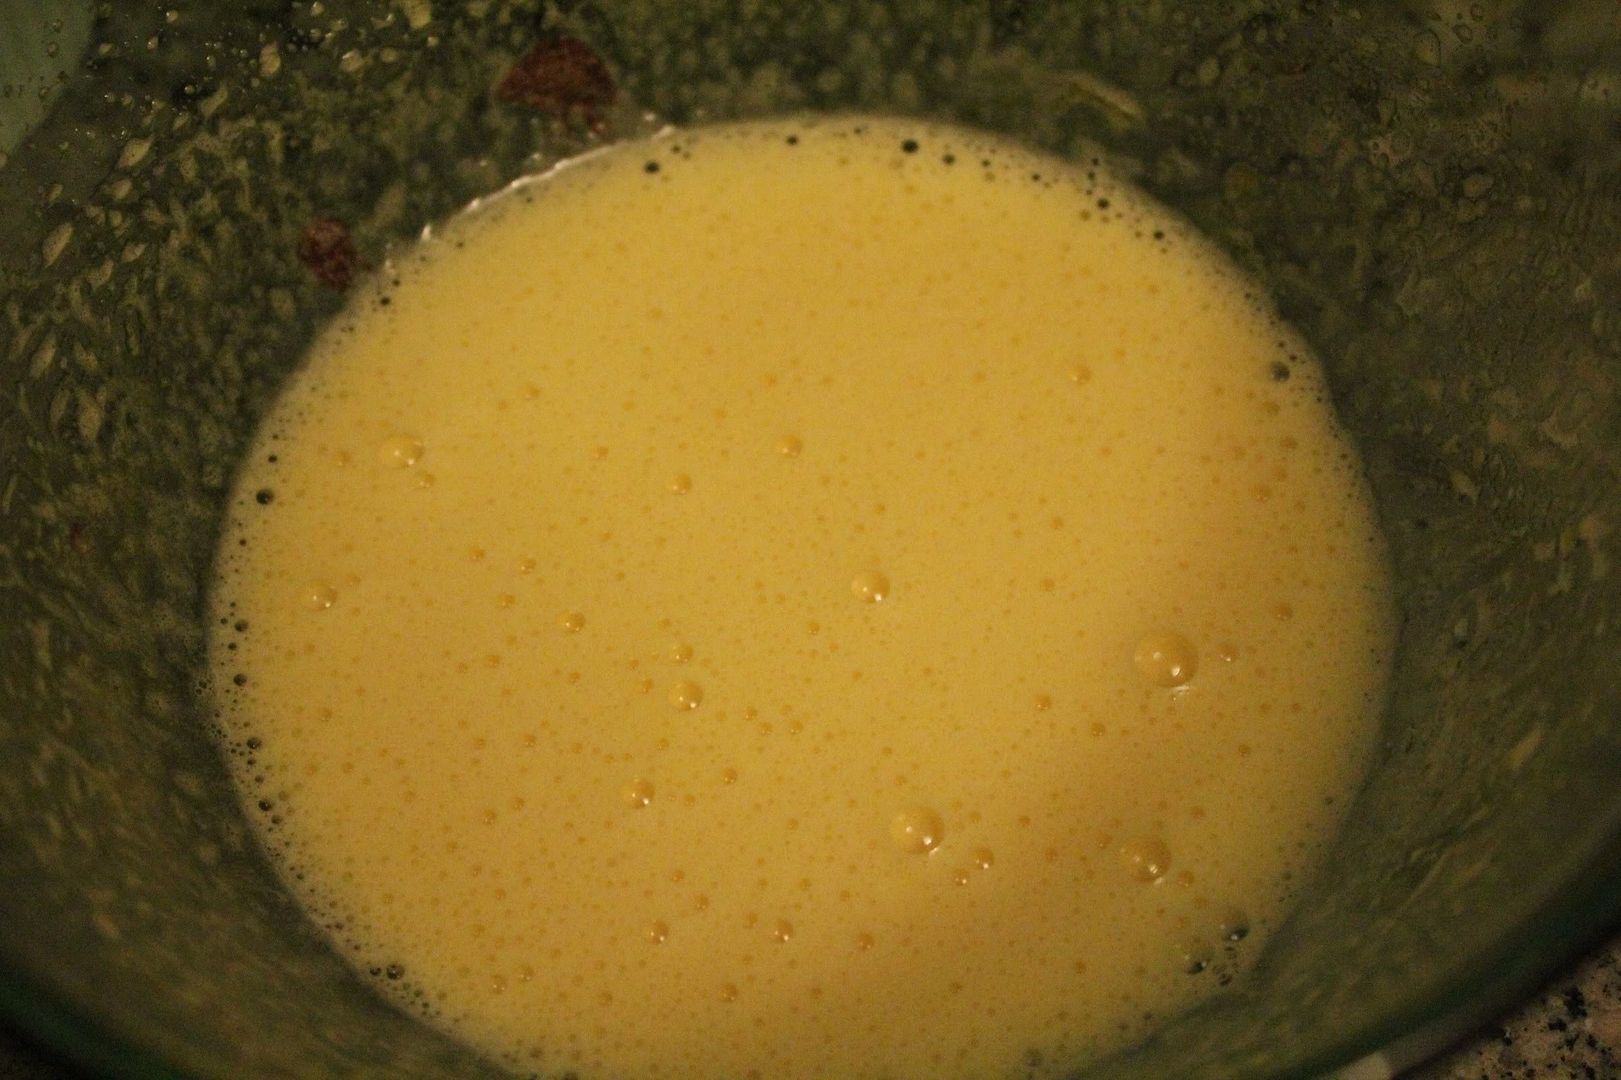
  • While the chocolate is melting, add the sugar and egg/egg yolk into a bowl and beat on high until thick but frothy.

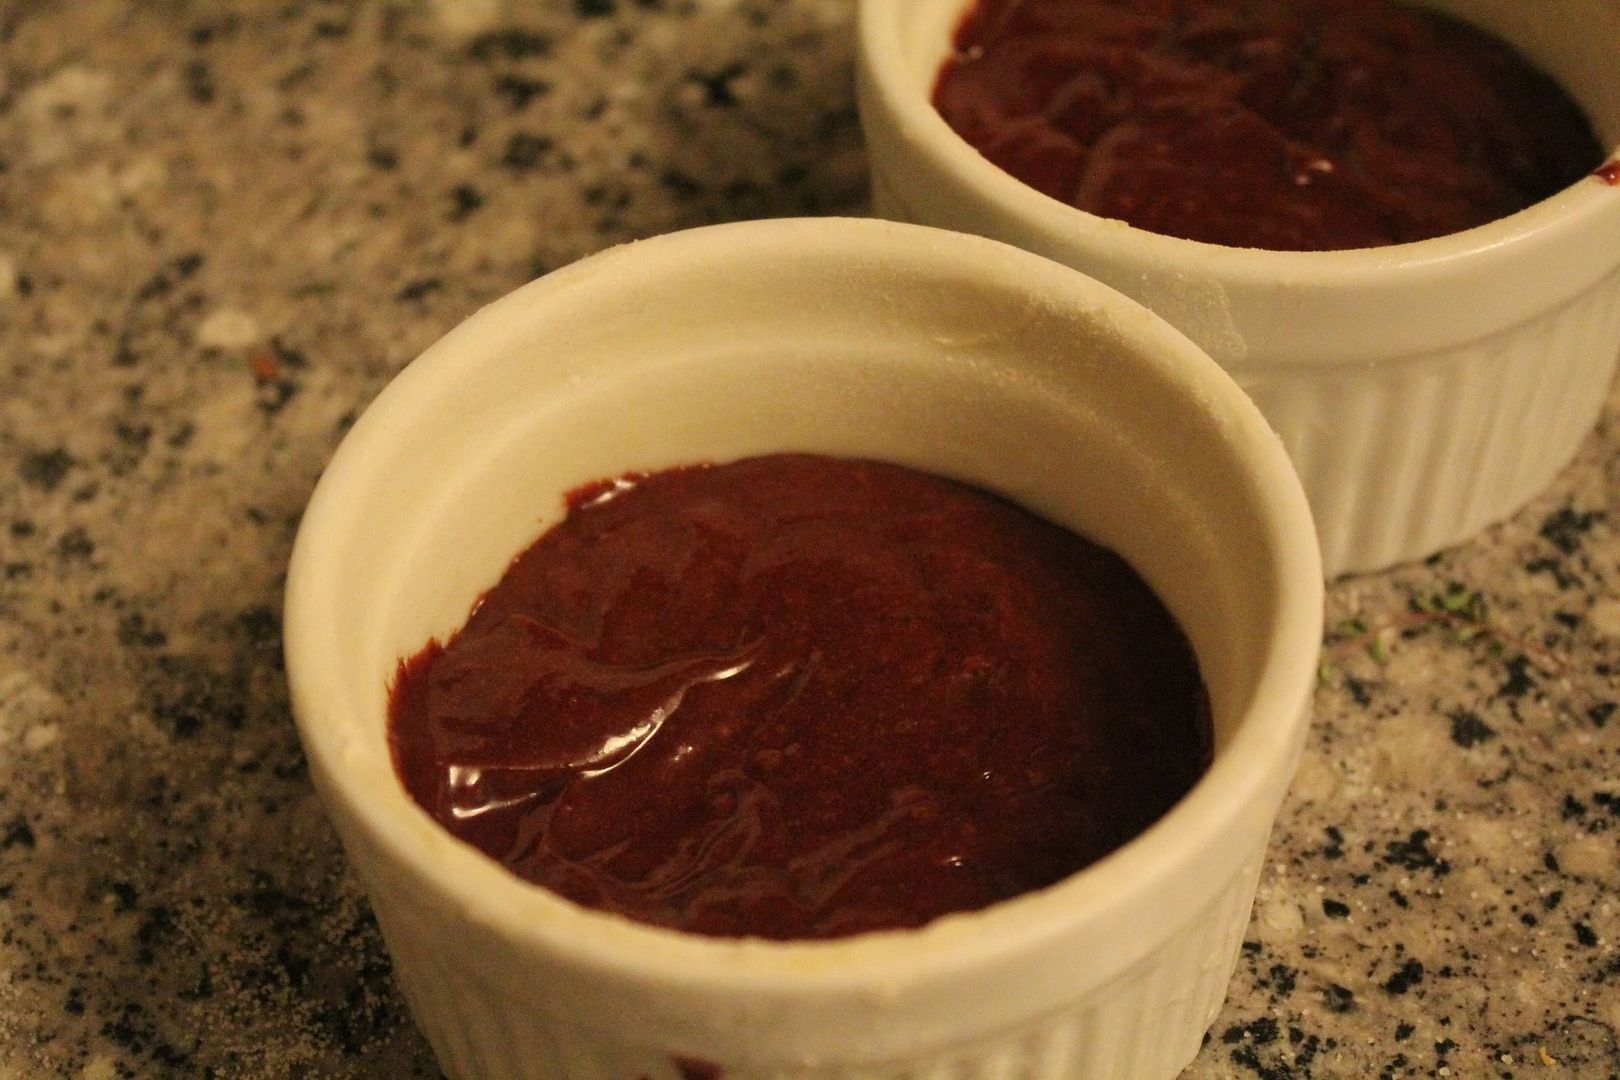
  • Butter and flour (or cocoa powder) the ramekins, then tap out the excess flour.  
  • Pour the batter into the ramekins and bake for 6-7 minutes, until the side have set.  The top should also be set but still shiny.  Invert onto a plate and let sit for 10 seconds.  Pull down one corner and the cake will fall out onto the plate.
  • Sprinkle with powdered sugar and serve!
Was too busy shoveling the cake into my mouth Forgot to take a picture of the molten part of my cakes, so here's a picture from the recipe source:
molten chocolate cake
Source: Diner's Journal